

7 Steps to Calculate 3D Printer ROI for In-House Use
Last Updated: November 1, 2026
Quick Summary
3D printer ROI is calculated by comparing the annual savings from printing parts in-house against the total cost of ownership, then dividing by the printer's purchase price. The fairest method compares fully loaded in-house cost per part, including labor, failed prints and overhead, against fully loaded outsourced cost per part, including shipping and fees.
- Define your printing volume and use first, since low use is the most common reason an in-house printer never pays back.
- Build total cost of ownership as an annual figure that covers labor, failed prints, maintenance, software, facility and depreciation.
- Compare fully loaded in-house and outsourced costs per part using the same part, material and quantity on both sides.
- Divide the printer purchase price by annual net savings to find the payback period in years.
- Run low, expected and high volume scenarios to see how sensitive your ROI is to changing assumptions.
Table of Contents
- Why Printer Price Alone Misleads Your ROI Decision
- Step 1: Define Your Printing Volume and Use
- Step 2: Calculate Your 3D Printing Cost Per Part
- Step 3: Add Total Cost of Ownership Beyond Materials
- Step 4: Build Your 3D Printer ROI Calculator
- Step 5: Find Your 3D Printer Payback Period
- Step 6: Compare In-House Printing With Outsourcing
- Booking a Quote Before Your Next Printer Purchase
- Frequently Asked Questions
Why Printer Price Alone Misleads Your ROI Decision
Many manufacturing teams fixate on the sticker price of a printer and miss the real math behind 3D printer ROI.
Many shops find that the printer looks cheap on paper but expensive in use. Consumables, maintenance and labor add up quickly. A clear ROI model keeps those costs visible from the start.
This guide walks through seven steps, from defining your volume to building a payback estimate. Each step builds on the last, so work through them in order.
Step 1: Define Your Printing Volume and Use
Start with how many parts you need each month and how long each one takes to print. Use is the share of available machine hours you actually use. A printer that sits idle half the week has a very different payback than one that runs most days.
- Count parts per month across all current and planned projects
- Record average print time per part
- Divide total print hours by available machine hours to get use
- Note how often jobs fail or need reprinting
Low use is the most common reason an in-house printer never pays back. Be honest about your numbers here, since every later step depends on them.
Step 2: Calculate Your 3D Printing Cost Per Part
Once you know your volume, work out what one finished part costs you to make. Include material use, machine time and the share of printer depreciation tied to each job. A simple starting formula is:
Cost per part = material cost + machine time cost + post-processing cost + share of overhead
Material cost comes from the weight of each part and the price of your filament or resin per kilogram. Machine time cost uses your electricity draw and the hours each job runs. Track these per job so the numbers reflect real work, not guesses.
Teams that skip this step often underestimate their true cost per part by a wide margin.
Step 3: Add Total Cost of Ownership Beyond Materials
Materials are not the whole bill. Total cost of ownership (TCO) covers every expense tied to running the printer over its working life. Leaving these out is the fastest way to inflate your ROI.
Build TCO as an annual figure, then divide by annual parts to get a per-part TCO. That per-part number is what you compare against an outsourced quote.
Annual TCO = labor + post-processing + failed prints + maintenance and repairs + software + facility + depreciation
Labor and Post-Processing
Someone has to load files, watch jobs, remove parts, and clean up supports. Log those hours at a fully loaded rate, not just wages. A common pattern is to track a week of real jobs with a simple time log, then multiply by 52. Post-processing such as sanding, curing, support removal, or finishing adds time per part.
If a part needs 20 minutes of finishing and your loaded rate is $35 per hour, that is about $11.67 per part before any material is counted.
Failed Prints and Rework
Failed prints waste material, machine hours, and labor. Track your failure rate over a month rather than guessing. If 1 in 10 jobs fails and each failure consumes the same material and time as a good part, your effective material and machine cost rises by roughly 10 percent. Add rework time separately, since a failed print that is caught late can cost more than the material itself.
Maintenance, Repairs, and Wear Parts
Nozzles, belts, build plates, and other wear parts need replacing on a schedule. Budget a maintenance reserve as a percentage of the printer price per year, then adjust it with your own service records after the first year. Repairs outside warranty are the line most often missed. Keep a small contingency for them rather than assuming zero.
Software and Subscriptions
Slicer licenses, print-management software, and any monitoring or fleet tools carry recurring fees. List them annually, not monthly, so they line up with the rest of your TCO.
Facility Costs
Count the floor space, cooling, ventilation, and power the printer needs. These costs apply even when the machine is idle, which is why they belong in TCO rather than in cost per part alone. A simple method is to assign a square-foot rate to the printer's footprint and add its share of utilities.
Depreciation
Depreciation spreads the purchase price across the printer's useful life. A straight-line method is usually enough: divide the purchase price by the expected years of service. If you plan to replace the machine in five years, the annual depreciation is one-fifth of the price. This keeps the purchase price from being counted twice, once as capital and again as an operating cost.
Teams that skip this step often underestimate their true cost per part by a wide margin, because material is usually the smallest line once labor and failures are counted.
Upload your STL file for an instant quote →
The article breaks total cost of ownership into several line items; the table below lists them with how each is measured.
| Cost line | How to measure it | Note |
|---|---|---|
| Labor and post-processing | Log real hours at a loaded rate | Example: 20 min at $35/hour is about $11.67 per part |
| Failed prints and rework | Track failure rate over a month | Example: 1 in 10 failures adds about 10% to material and machine cost |
| Maintenance and repairs | Reserve a share of printer price per year | Adjust with service records after year one |
| Software and subscriptions | List recurring fees annually | Keeps them aligned with the rest of TCO |
| Facility costs | Assign a square-foot rate plus utilities | Applies even when the printer is idle |
| Depreciation | Purchase price divided by years of service | Straight-line method is usually enough |
Step 4: Build Your 3D Printer ROI Calculator
Now combine the numbers into a working calculator. A basic version needs four inputs: printer purchase price, annual operating cost, annual parts printed, and the outsourced price per part you would otherwise pay. A simple ROI formula looks like this:
ROI (%) = (Annual savings − Annual cost of ownership) ÷ Printer purchase price × 100
Here, annual savings equals parts printed per year multiplied by the difference between outsourced cost and your in-house cost per part. Build the calculator in a spreadsheet so you can change one input and see the effect on the result.
Running at least three scenarios, a low, expected and high volume case, shows how sensitive the result is to your assumptions.
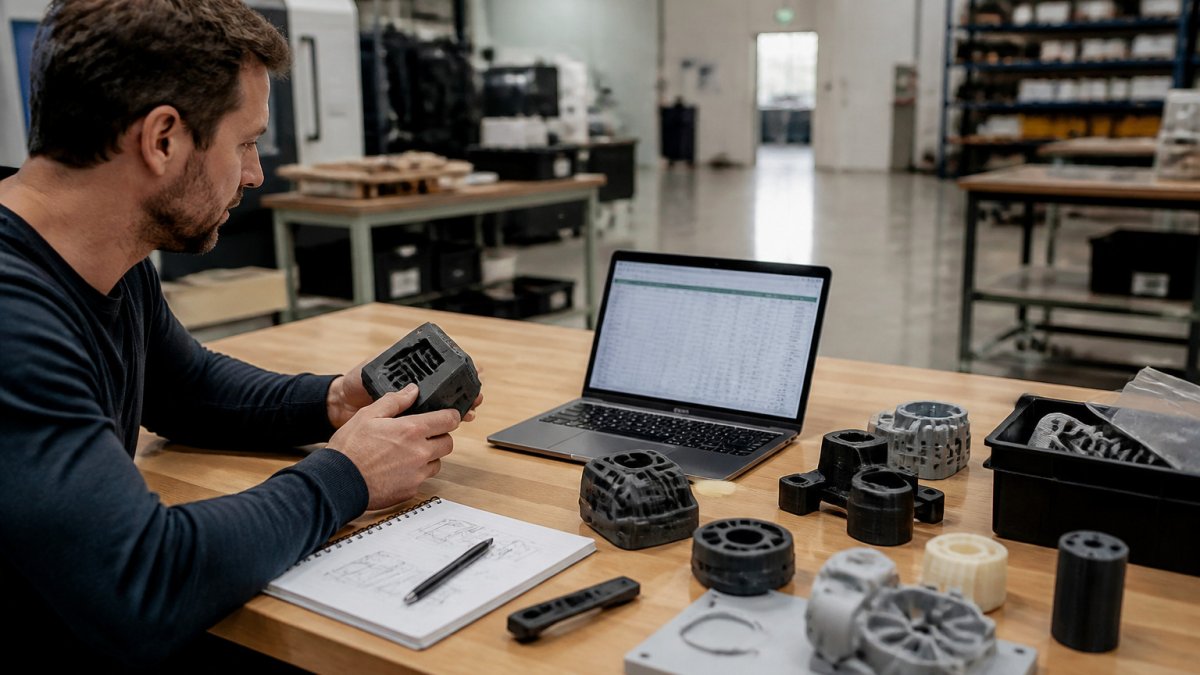
!A product designer at a desk reviewing printed prototype parts beside a laptop open to a spreadsheet, in a bright manufacturing workspace
Step 5: Find Your 3D Printer Payback Period
The payback period tells you how long it takes for savings to cover the purchase price. Divide the printer price by your annual net savings to get the number of years.
Payback period (years) = Printer purchase price ÷ Annual net savings
A shorter payback means lower risk. Compare your result against how long you expect the printer to stay productive, since a payback longer than that useful life is a warning sign. Pricing for your own build depends on quantity and timing, so check current figures against your own quotes rather than relying on published estimates.
Step 6: Compare In-House Printing With Outsourcing
A fair comparison weighs more than cost per part.
Fully loaded in-house cost per part = material + machine time + post-processing labor + failure allowance + per-part share of TCO
Fully loaded outsourced cost per part = quoted unit price + shipping and handling + vendor fees + your internal receiving and inspection labor
Use the same part, the same material, and the same quantity on both sides. If the outsourced quote is for a different process or tolerance, note the difference rather than treating the prices as equivalent.
What to Put on Each Side
- Outsourced parts carry shipping time, vendor fees, minimum order quantities, and the labor to receive and inspect them
- In-house parts carry labor, space, maintenance, and the cost of failed prints
- Outsourcing suits low or irregular volume, where you avoid idle machine time
- In-house suits steady, frequent needs, where utilization is high enough to spread TCO
- Quality and tolerance requirements may favor one approach, so compare scrap and rework rates, not just price
Lead Time and Iteration Are Part of the Math
Lead time has a cost even when it does not appear on an invoice. If an outsourced run adds two weeks, count the engineering time spent waiting and the cost of any schedule slip. In-house printing shortens the design loop and lets you iterate the same day, which is a real benefit but should be listed separately from cash savings so the ROI stays honest.
A Worked Comparison
Suppose an outsourced vendor quotes $40 per part plus $5 shipping and $2 in receiving labor, for a fully loaded $47. Your in-house material is $6, machine time is $4, post-processing labor is $12, and your failure allowance and TCO share add $8, for a fully loaded $30. The in-house saving is $17 per part, not the $34 you would get by comparing material alone to the quote. Multiply the $17 by annual parts to get the savings figure for Step 4.
For many teams, a hybrid model makes the most sense. Keep routine prototypes in-house and send specialized or high-volume work to a trusted service, then re-run the comparison each quarter as your volume changes.
Booking a Quote Before Your Next Printer Purchase
Before you commit to buying a printer, get a real outsourced price for the parts you plan to make. Upload your STL file for an instant quote to see what your current parts would cost. That number becomes the benchmark your in-house cost per part has to beat.
Pricing depends on quantity, materials, dates and delivery, so request a quote for your exact project on the Alex 3D Print Us LLC website. Plug the result into your calculator from Step 4 and check whether the in-house option truly pays back within your planning horizon.
Frequently Asked Questions
How do you calculate the ROI of a 3D printer?
Divide the annual net savings by the total investment, then multiply by 100. Annual net savings equal what you would have paid outside vendors for the same parts, minus your in-house cost per part multiplied by the parts you print. Include the printer purchase price spread over its useful life, materials, labor, post-processing, maintenance, and failed prints. Run the calculation with conservative and optimistic volume estimates so you can see how sensitive the result is to utilization.
How long does it take for a 3D printer to pay for itself?
Payback period equals the total upfront investment divided by monthly net savings. A printer that replaces $1,000 per month of outsourced prototyping, with $400 per month in in-house operating costs, would recover a $12,000 purchase in about 20 months. Payback shortens when utilization is high and lengthens when volume is inconsistent, so model at least two volume scenarios before deciding.
What costs should be included in an in-house 3D printing ROI calculation?
Include the printer and any required accessories, software licenses, filament or resin consumed by the parts, failed-print material waste, labor for file preparation and monitoring, post-processing time, maintenance parts, replacement nozzles or build plates, electricity, and workspace costs. Leaving out labor and failed prints is the most common reason in-house estimates look better than real results.
