
Advanced Post-Processing Techniques for 3D Printed Parts
Quick Summary
The most effective post-processing techniques for 3D printed parts include careful support removal, staged sanding and filling, vapor smoothing for compatible materials, and machining holes and threads last. Choose each method based on the material, the support interface and the tolerances the part must hold.
- Score support contact points with a hobby knife before twisting supports free.
- Sand in stages, starting around 120 to 180 grit and finishing at 400 grit or higher.
- Vapor smoothing works best on ABS and ASA; PLA and PETG respond poorly to it.
- Vapor smoothing requires ventilation, nitrile gloves, goggles and no nearby ignition sources.
- Drill, ream or tap fit-critical features only after all surface finishing is complete.
Table of Contents
- Why Post-Processing Changes What a 3D Printed Part Can Do
- Removing Supports and Excess Material Without Damaging the Part
- Smoothing 3D Printed Parts: Sanding, Filling and Layer-Line Removal
- Vapor Smoothing 3D Prints: Material-Specific Parameters and Safety
- Strengthening 3D Printed Parts After Printing
- Machining, Tumbling and Maintaining Dimensional Tolerances
- Building a 3D Printing Post-Processing Workflow That Fits Your Production Volume
- Next Step: Send Us Your STL File for an Instant Quote
- Frequently Asked Questions
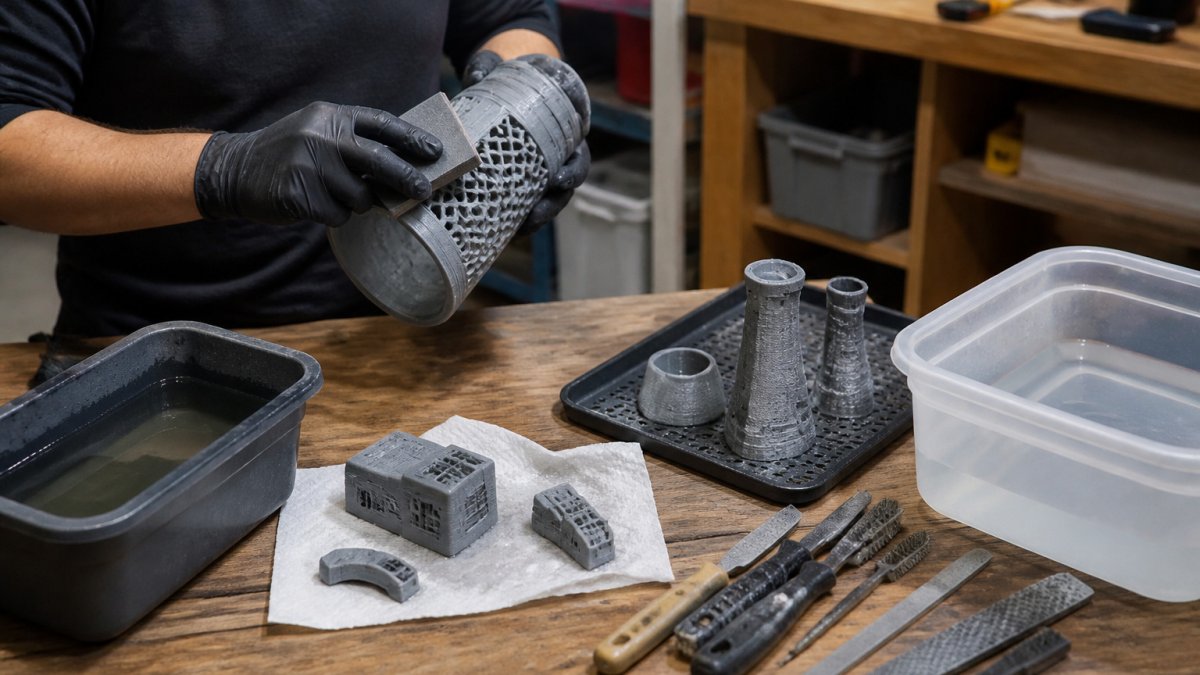
Removing 3D printed supports without damaging the part depends on the material, the support interface and the tool you choose.
Let's start with why this matters now. Most 3D-printed parts leave the printer looking rough: support scars, layer lines and surface defects that a finished product cannot ship with. Applying the right post-processing techniques is how you close that gap.
Why Post-Processing Changes What a 3D Printed Part Can Do
Post-processing is the set of steps that turns a raw print into a usable part. A printer produces geometry. Finishing produces surface quality, dimensional fit and, in some cases, mechanical strength.
The raw print is rarely the end of the job.
Here is what good post-processing typically changes:
- Appearance: smoother surfaces and cleaner edges
- Fit: holes and mating faces that match the design
- Strength: some parts gain durability after treatment
- Usability: parts that can be handled, painted or assembled
Teams often skip post-processing to save time. That usually costs more later, when a part fails fit checks or looks unfinished in front of a client.
Removing Supports and Excess Material Without Damaging the Part
Support removal is where most parts get damaged, so choose your post-processing techniques carefully. The goal is to break the support bond, not the part.
A common mistake is pulling supports off with force.
Follow this sequence:
- Remove large support blocks by hand or with pliers.
- Score the remaining contact points with a hobby knife.
- Use flush cutters for thin support lines.
- Clean the area with a file or fine sandpaper.
Watch out: supports that fuse tightly to the part usually mean the support interface settings were too dense. Adjust the interface gap in your slicer before the next print.
Smoothing 3D Printed Parts: Sanding, Filling and Layer-Line Removal
Smoothing is the stage where a part starts to look finished. Layer lines, small bumps and support scars all need attention. Most teams combine a few methods rather than relying on one.
Sanding and Surface Preparation Sequence
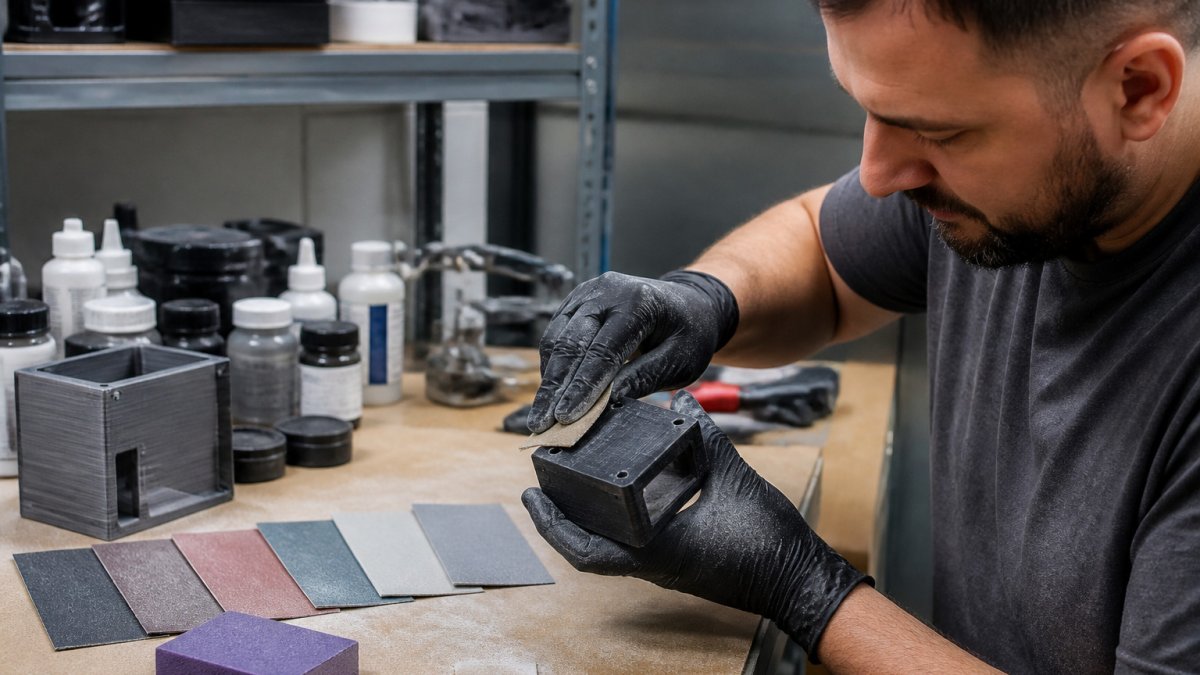
Sanding works best in stages. Start coarse, then move to finer grits. Skipping grits leaves scratches that show through paint.
Use this rough sequence:
- Start around 120 to 180 grit to remove large bumps.
- Move to 240 to 320 grit to smooth the surface.
- Finish at 400 grit or higher before priming or coating.
Wet sanding reduces dust and can give a smoother finish on many plastics. Wipe the part clean between grits so coarse particles do not scratch the next step.
Filling Gaps and Surface Defects
Filler covers small gaps, pits and seams that sanding alone cannot fix. Use a filler made for your material. Apply thin coats, let each one cure fully, then sand flat.
A useful habit is to prime the part after each filling pass. Primer shows low spots that the bare plastic hides. Fill and sand again until the surface looks even.
Vapor Smoothing 3D Prints: Material-Specific Parameters and Safety
Vapor smoothing exposes a part to solvent vapor that softens only the outer skin, letting surface tension pull layer lines flat. It is the highest-leverage finishing step for the right material and the fastest way to ruin a part for the wrong one. Treat it as a material-specific process, not a universal trick.
Which Materials Respond, and Which Do Not
- ABS: the classic candidate. Acetone vapor softens the surface reliably. Exposure times should be kept short and checked frequently, because overexposure can round edges and collapse thin walls.
- ASA: behaves similarly to ABS with acetone and generally holds up better to UV exposure afterward, which matters for outdoor parts.
- PLA: poor candidate for acetone. It softens slowly and unevenly and tends to go tacky rather than flow. Chlorinated solvents used on PLA are far more hazardous and are not a shop-floor substitute for acetone.
- PETG: resistant to acetone at room temperature. Vapor smoothing is generally not practical without elevated temperature and specialized solvents.
A practical rule: if a scrap print of the same material and color does not soften visibly within a few minutes of vapor exposure, stop, do not extend the time to force a result.
A Repeatable Vapor Chamber Setup
Keep any chamber away from ignition sources, and never heat the solvent directly.
Measure results rather than eyeballing them, and plan for small dimensional changes on thin features in the design.
Upload your STL file for an instant quote →
Safety, Ventilation, and Disposal
Acetone is flammable and its vapor is heavier than air, so it pools in low areas. Work under a fume hood or with local exhaust ventilation at the chamber, not just an open window. Wear nitrile gloves rated for the solvent, splash goggles, and a respirator with the appropriate cartridge if vapor levels are not controlled by ventilation.
The Occupational Safety and Health Administration's workplace chemical exposure guidance and the solvent manufacturer's safety data sheet are the two documents to review before building a vapor station: OSHA workplace chemical exposure guidance. Spent solvent and contaminated wipes may be regulated as hazardous waste, so check local environmental rules before disposal, and never pour solvent down a drain (the EPA).
When Vapor Smoothing Beats Sanding
Vapor smoothing can reach complex geometry that sandpaper cannot, but it can also change fit on parts with sharp edges, fine text, or tight tolerances.
Strengthening 3D Printed Parts After Printing
Some parts need more strength than the print provides. Post-treatment can help, but results depend on the material and the process.
Results vary widely by material and process, so test on a sample before you commit a full batch.
Treat strengthening as a design-stage decision as much as a finishing step.
The article's guidance on how finishing steps change dimensions, summarised for quick reference.
| Finishing step | Dimensional effect | Practical note |
|---|---|---|
| Sanding | Removes material; holes grow slightly, bosses shrink | Mask fit-critical bores |
| Filling and priming | Adds material; can close a slip fit | Mask holes, threads and mating faces |
| Vapor smoothing | Softens and rounds the outer skin | Thin walls and sharp edges round |
| Tumbling | Removes material uniformly, rounds edges | Most aggressive bulk method |
| Machining | Only method that reliably restores nominal size | Do it after all surface finishing |
Machining, Tumbling and Maintaining Dimensional Tolerances
Every finishing step can move a part's dimensions, which matters for holes, threads, and mating surfaces.
How Each Process Changes Dimensions
- Sanding: removes material, typically a few thousandths of an inch per grit stage on flat faces. Holes grow slightly; bosses shrink. Keep sanding away from fit-critical bores or mask them.
- Filling and priming: adds material. A primer coat plus filler can add several thousandths of an inch to a surface, which is enough to close a slip fit. Mask holes, threads, and mating faces before coating.
- Vapor smoothing: softens and reflows the outer skin. Thin walls and sharp edges round; overall size changes are small but real on fine features.
- Tumbling: removes material uniformly and rounds edges. It is the most dimensionally aggressive bulk method, a sharp corner that matters for fit will not survive a long tumble.
- Machining: the only method that reliably brings a feature back to nominal. Drill, ream, or tap after all surface finishing is complete, not before.
Machining After Printing: Sequence and Practice
Drill and tap last. If you machine a hole and then sand or coat the part, the hole is no longer where you set it.
Clamp the part against a backer to prevent blowout on through-holes, use sharp bits and moderate speed to avoid melting, and clear chips often. Measure the finished feature against the drawing, not against the printed part.
Tumbling: Media, Time, and What It Costs You
Tumbling uses abrasive media in a rotating drum to smooth many small parts at once. It is the cheapest per-part finish for consistent geometries, but it is indiscriminate: it rounds every edge and can wear away fine detail. Choose media by desired finish, coarse ceramic media cuts faster and rounds more; finer plastic or porcelain media polishes with less dimensional change.
Inspection Checkpoints and Acceptance Criteria
Build measurement into the workflow rather than checking at the end:
- After printing: measure fit-critical features on a test coupon from the same build.
- After support removal and sanding: re-check holes and mating faces for growth or damage.
- After coating or smoothing: confirm the feature is still in spec before assembly.
- After machining: final inspection against the drawing, with the measurement recorded per batch.
Mark fit-critical features on the drawing, print coupons alongside production parts, and define an acceptance range before finishing starts. If a feature drifts out of spec, adjust print orientation, add machining allowance, or mask the feature during finishing, do not force the fit.
Building a 3D Printing Post-Processing Workflow That Fits Your Production Volume
A workflow keeps finishing predictable. Document each step, the tools used and the acceptance check for each part.
For low volumes, manual finishing with a short checklist works well. As volume grows, batch steps like tumbling and standardized sanding jigs save labor. Match your workflow to the number of parts you finish each week, not to a guess about future demand.
Use a simple decision path:
- Under 20 parts per month: manual support removal, sanding and filling
- 20 to 100 parts per month: add batch tumbling and standard fixtures
- Over 100 parts per month: consider dedicated finishing equipment and quality checks
Next Step: Send Us Your STL File for an Instant Quote
Once your post-processing plan is set, the next step is getting parts made. Alex 3D Print Us LLC supports Bambu Lab multi-color printing, xTool UV and MOPA laser engraving, and support for projects of any complexity. Upload your STL file for an instant quote.
Send your STL file for an instant quote through our full range of printing and finishing services.
Frequently Asked Questions
What are the most effective post-processing techniques for 3D printed parts?
The most effective techniques depend on the goal. Support removal and sanding prepare surfaces for most applications. Filling and priming hide layer lines before painting. Vapor smoothing works well on certain thermoplastics such as ABS to produce a glossy, sealed surface, while annealing or infiltration can improve heat resistance and strength. For fit-critical features, machining or drilling after printing restores tight tolerances. Choose the method that matches the material, the finish you need, and the mechanical requirements of the part.
Which post-processing methods work best for PLA, ABS, and resin prints?
PLA is typically sanded, filled and painted, since it does not respond well to chemical vapor smoothing. ABS is the most common candidate for vapor smoothing with acetone, which fuses layer lines into a smooth surface. Resin prints are usually post-cured under UV light and then washed in isopropyl alcohol to remove uncured residue, with sanding and priming used for a finished look. Always confirm chemical compatibility before treating any material, and test on a scrap part first.
How can you improve the strength of a 3D printed part after printing?
Post-print strength gains usually come from annealing semi-crystalline materials such as PLA or nylon in a controlled oven to increase crystallinity, which can raise heat resistance and stiffness. Epoxy or cyanoacrylate infiltration can seal porous structures and add load capacity. Mechanical strength also depends on print orientation and infill, which are set before printing. Measure results with a test coupon when you need quantified performance data for your application.
When should post-processing be included in a 3D printing workflow?
Plan post-processing during design, not after printing. Design for post-processing by avoiding sharp internal corners where support or residue collects, adding clearance for threaded inserts, and specifying which surfaces are cosmetic versus functional. Build finishing time into your production schedule, since sanding and curing can add hours to a batch. Defining these steps early reduces rework and keeps turnaround predictable.
