
Multi Color 3D Printing for Corporate Branding
Table of Contents
- Why Multi Color 3D Printing Beats Traditional Promotional Manufacturing
- Custom 3D Printed Promotional Products: What You Can Actually Make
- Best Practices for 3D Printed Corporate Logos
- Manual vs. Automated Color Switching Systems
- Laser Engraving vs 3D Printing for Branding
- Material Durability and Color Accuracy for Long-Term Display
- Turnaround Time for Custom 3D Printed Swag
- Scaling from Prototype to Batch Production
- Frequently Asked Questions
Last Updated: October 1, 2026
Why Multi Color 3D Printing Beats Traditional Promotional Manufacturing
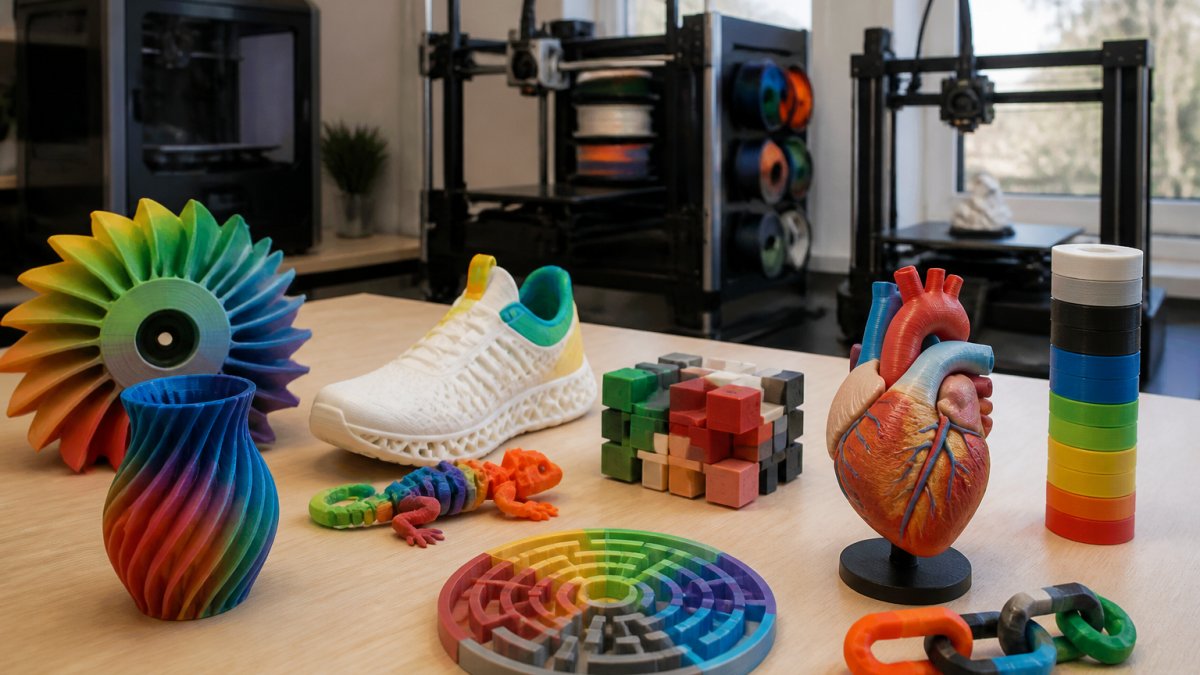
Multi color 3D printing is an additive manufacturing process that builds branded objects layer by layer while switching between colored filaments, letting you produce logos, gradients, and multi-tone designs in a single pass. For corporate branding, that changes the economics of promotional manufacturing. Instead of ordering thousands of identical items from an overseas supplier, you can produce ten or ten thousand, each matching your brand palette exactly.
This guide from Alex 3D Print Us LLC covers what actually works in production, from file preparation to batch scaling. The stakes are higher than they look: a promotional item is a physical touchpoint for your brand, and color drift or a rough surface finish undermines the message it carries.
Traditional promotional manufacturing locks you into tooling costs and long lead times. Multi color 3D printing removes both constraints, which matters most when your campaign calendar moves faster than your supplier.
Custom 3D Printed Promotional Products: What You Can Actually Make
The most common custom 3D printed promotional products are desk nameplates, branded keychains, trade-show display pieces, logo plaques, and functional desk accessories. Each benefits from multi-color printing because the branding is built into the object rather than applied as a sticker or paint that wears off.
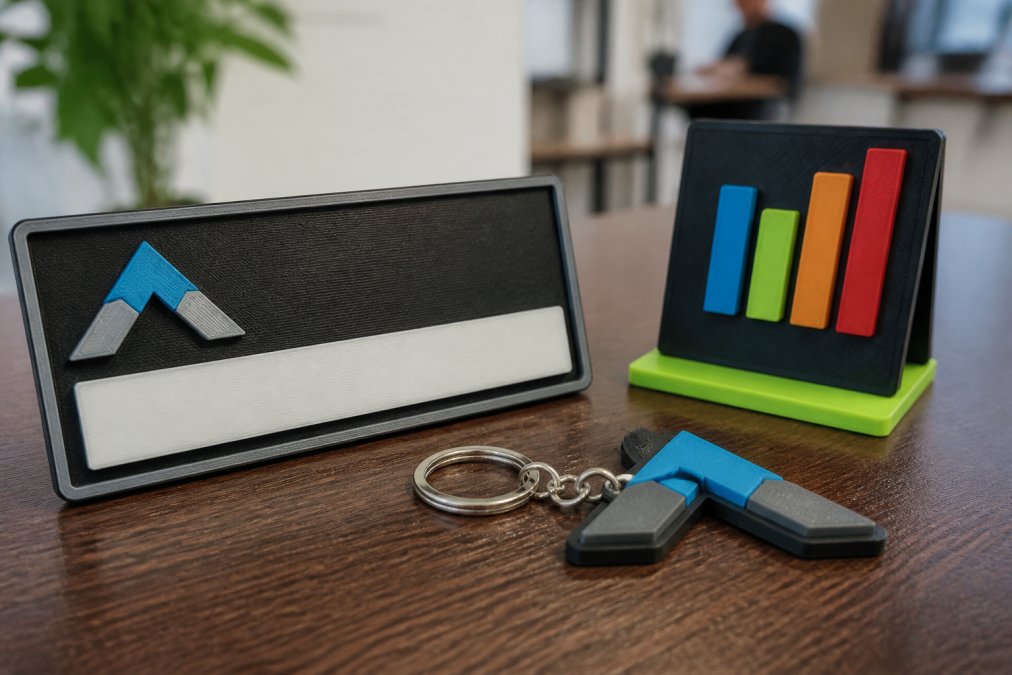
Here's what works well in production:
- Nameplates and desk signs with raised lettering in a contrasting color
- Keychains and bag tags that survive daily handling
- Trade-show giveaways sized to fit a pocket or lanyard
- Display models that show a product concept in your brand colors
- Functional items like cable organizers or phone stands with embedded logos
The practical limit is usually size and fine detail. Tiny text below a millimeter or two becomes fragile and hard to read, so designers should simplify logos for small formats. A common mistake is submitting a full-detail logo for a keychain-sized part; the result looks muddy. Simplify the mark first, then print.
Best Practices for 3D Printed Corporate Logos
The best practices for 3D printed corporate logos come down to three things: simplify the mark for the print size, choose contrasting colors that hold up under office lighting, and test one unit before committing to a batch. Skipping the test print is the single most common reason a logo comes out wrong at scale.
File Preparation for Corporate Logos
File preparation is where most corporate branding projects succeed or fail. A logo built for a website is vector art, not a 3D model. You need a printable file, usually an STL, with the logo converted into raised or recessed geometry.
What most guides miss is that logo files often contain thin strokes and small gaps that a nozzle simply cannot reproduce. Before printing, check these:
- Convert vector logo to 3D geometry with a defined relief height
- Minimum stroke width at least twice your nozzle diameter
- Remove overlapping or open paths that create non-manifold edges
- Confirm the model is watertight in your slicer software
- Test one unit before a full batch
If your CAD files aren't in the right format, that shouldn't stall the project. A turnkey service can handle the conversion for you. Alex 3D Print Us LLC accepts STL uploads and provides an instant quote, so you know the cost before committing.
Manual vs. Automated Color Switching Systems
Automated color switching systems, like the AMS units used with Bambu Lab printers, feed multiple filament spools into a single print and change colors on command. Manual switching requires you to pause the print and swap filament by hand. For corporate work, the automated route wins on consistency.
The trade-off is waste. Every color change purges a small amount of filament into a purge block, so a design with many color transitions generates more waste than a simple two-tone logo. Designers reduce this by grouping same-color regions and limiting the number of transitions.
| System | Color Changes | Best For | Main Drawback |
|---|---|---|---|
| Automated (AMS) | Hands-free, multi-spool | Multi-color logos, batches | Purge waste per change |
| Manual swap | Operator pauses print | Simple two-tone parts | Inconsistent, slow |
For a brand program, automated switching is the only realistic path to repeatable color accuracy across a batch.
Laser Engraving vs 3D Printing for Branding
Laser engraving and 3D printing solve different branding problems, and the right choice depends on the material and the look you want. Laser engraving removes or alters material on an existing surface, while 3D printing builds the branded object from scratch.
Engraving excels on metal, wood, and acrylic: it produces a durable, permanent mark that resists wear. The MOPA laser engraving process, for example, creates high-contrast marks on metals without deep cutting. 3D printing wins when you need full color, complex geometry, or a shape that doesn't exist yet.
Many corporate projects use both. A 3D printed base with a laser-engraved metal plate combines full-color geometry with a durable metal finish. That's where a single vendor handling both processes saves you from bouncing between shops. Alex 3D Print Us LLC runs multi-color printing alongside xTool UV and MOPA laser engraving, so mixed-material projects stay under one roof.
| Method | Best Material | Durability | Color Range |
|---|---|---|---|
| Laser engraving | Metal, wood, acrylic | Very high | Single-tone mark |
| 3D printing | PLA, PETG, ABS | High | Full multi-color |
Material Durability and Color Accuracy for Long-Term Display
Material choice determines how long a branded piece holds up and how well its colors stay true. PLA is the easiest to print in vivid colors but softens in heat. PETG offers better toughness and UV resistance. ABS handles higher temperatures but is harder to print cleanly.
ASA is a step beyond ABS for outdoor exposure, with strong UV stability, though it needs an enclosed printer and good ventilation.
For items that sit on a desk or in a display case for years, PETG is usually the best balance of durability and color stability. For a trade-show giveaway that gets handled constantly, the same logic applies: pick toughness over the widest color range. For anything that will sit in direct sunlight, near a window, or on a vehicle dashboard, ASA or a UV-stable PETG blend is the safer pick. PLA left in a hot car can warp and lose its shape entirely.
Matching Brand Colors: Pantone, CMYK, and Reality
This is the part most guides skip, and it's the part that matters most for corporate branding. Your brand guide almost certainly specifies colors in Pantone (PMS), CMYK, or hex. None of those translate directly to a filament spool. Filament is sold in named colors, not brand codes, and the same "red" from two manufacturers can look noticeably different side by side.
Upload your STL file for an instant quote →
A practical workflow looks like this:
- Start with the brand guide. Pull the Pantone or hex values you're required to match.
- Convert to a printable reference. Use a color bridge or a Pantone-to-RGB conversion to get a starting point, then accept that the final match will be approximate.
- Order physical swatches. Most filament suppliers sell sample chips or small spools. Print a flat test tile in each candidate color.
- Compare under the real lighting. A color that matches under a 5000K daylight lamp can look wrong under warm office fluorescents or LED panels. Evaluate the tile where the item will actually live.
- Lock the filament SKU. Once you approve a match, record the exact manufacturer, product line, and spool batch. Reordering a different batch can shift the shade.
Durability for Long-Term Display
A branded piece that lives on a reception desk or in a lobby display case needs to survive years of handling, dusting, and light exposure. Three factors drive that:
- UV stability. PLA and standard PETG yellow and fade under prolonged sun exposure. ASA, and to a lesser extent UV-resistant PETG grades, hold color longer. Indoor display near windows still benefits from UV-stable material.
- Layer adhesion. Weak layer bonding is the most common failure point. Printing at the upper end of the recommended nozzle temperature for your filament, and avoiding drafts during the print, improves interlayer strength.
- Surface finish and cleaning. Matte or textured surfaces hide fingerprints and small scratches better than glossy finishes. If the item will be wiped down regularly, avoid finishes that show every smudge.
For a piece that will be handled daily, PETG or ASA is the right default. For a piece that stays behind glass, PLA is acceptable and gives you the widest color selection. Match the material to the environment, not to the color chart.
Turnaround Time for Custom 3D Printed Swag
Turnaround time for custom 3D printed swag depends on three factors: model preparation, print time per unit, and batch size. A single-color keychain might print in under an hour, while a large multi-color display piece can run for many hours.
For tight trade-show deadlines, the fastest path is to simplify the design, reduce color transitions, and confirm your file is print-ready before the clock starts. A vendor with an instant quote system can tell you the real timeline up front instead of after a file review.
Scaling from Prototype to Batch Production
Scaling from a single prototype to a batch means solving consistency, not just volume. The first unit proves the design works. The hundredth unit proves your process is repeatable. For corporate branding, the batch is usually tied to a fixed event date, a trade show, a product launch, an onboarding kit, so the process has to be both repeatable and predictable.
Three things keep a batch consistent:
- Locked print settings so every unit uses the same layer height, speed, and temperature
- Filament from the same batch to avoid slight color variation between spools
- A single reference print kept on hand to compare against finished units
Batch Sizing and Machine Time Math
Before committing to a quantity, do the machine-time math. A single-color keychain might print in 30 to 45 minutes. A multi-color nameplate with several color transitions can run two to four hours per unit. A large display piece can run eight hours or more.
If you need 100 keychains at 40 minutes each, that's roughly 67 hours of continuous machine time, about three days on a single printer running around the clock. A small print farm of four to six machines turns that into a one-day job. This is the single biggest reason corporate batches get outsourced: the math doesn't work on one printer when the deadline is fixed.
Reducing Purge Waste at Scale
Purge waste is the hidden cost of multi-color printing, and it scales linearly with the batch. A two-tone logo with one transition per layer might purge a few grams per unit. A five-color design with frequent transitions can purge 30 to 50 percent of the filament consumed.
Three ways to cut it:
- Group same-color regions in the model so the printer makes fewer transitions per layer
- Increase purge efficiency by tuning the purge volume in your slicer to the minimum that still produces clean color
- Print color-separated parts and assemble them, rather than printing a single multi-color body, when the design allows
For a 200-unit corporate run, these adjustments can mean the difference between a profitable batch and one that eats its own margin.
In-House vs. Outsourced: A Decision Framework
The in-house versus outsourced decision gets real at batch scale. A simple framework:
- Go in-house if your volumes are steady (monthly or quarterly runs), your designs repeat, and you have the floor space and ventilation for the printers. The capital cost amortizes over repeat runs, and you control turnaround.
- Outsource if your needs are occasional, your designs change often, or your deadline is tight. A fabrication partner absorbs the capital cost, the learning curve, and the machine-time math.
- Hybrid if you have one or two printers for prototypes and small runs, but send large event batches out. This is the most common pattern for corporate marketing teams.
Layer height and resolution affect both appearance and time. A finer layer height produces a smoother surface finish but roughly doubles or triples print time. For most corporate swag, a moderate layer height (0.16 to 0.20 mm) balances finish and speed. Reserve finer layers for display pieces where surface quality is the priority.
Alex 3D Print Us LLC handles projects of any complexity, from a single prototype to a full run, with an instant STL quote system that gives you the real cost and timeline before you commit.
Frequently Asked Questions
What are the benefits of using multi color 3D printing for corporate branding?
Multi color 3D printing lets you add logos, icons, and text directly into a part without painting or stickers. Colors are printed layer by layer, so they will not peel or fade the way applied graphics can. This matters for trade-show pieces and desk items that get handled often. It also allows small batches and one-off designs without expensive tooling, so you can test a design before committing to a larger run.
How do I prepare my brand logo for multi color 3D printing?
Start with a vector file such as SVG or AI, or a high-resolution PNG. Convert the logo to an STL or 3MF file, separating each color into its own body or mesh. Close any open paths and merge overlapping shapes so the slicer does not create gaps. If you are unsure, most print services will review your file before production.
Is 3D printing cost-effective for bulk corporate promotional items?
Pricing depends on quantity, part size, number of colors, and finishing. If you need custom 3D printed promotional products in small batches or with design variations, 3D printing can offer advantages in total cost and speed.
What materials are best for durable 3D printed corporate branding?
PLA works for indoor items like desk nameplates and display models. PETG offers better heat resistance and impact strength for items that get handled daily. ABS is tougher and holds up to outdoor use, though it needs controlled printing conditions. Material selection should match where the item will live and how often it will be touched.