
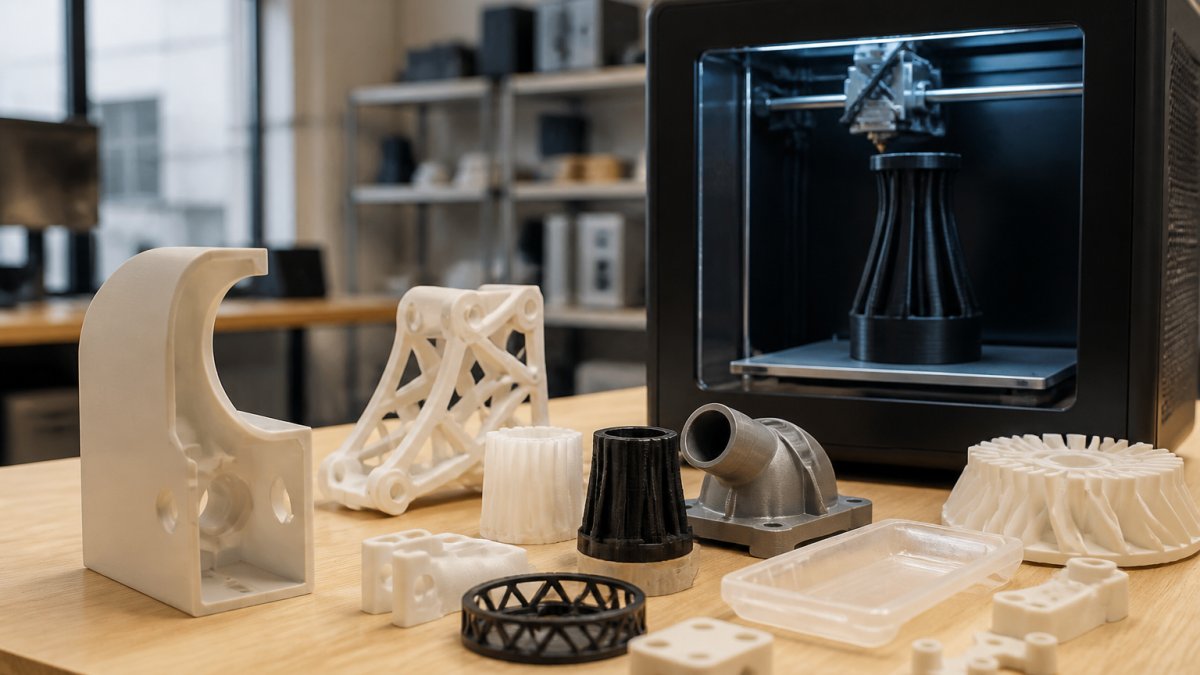
Rapid Prototyping for Product Design Firms: 2026 Guide
Table of Contents
- What Rapid Prototyping Means for Design Firms
- Why Rapid Prototyping Speeds Up Product Validation
- Common Rapid Prototyping Methods and Technologies
- 3D Printing vs CNC Machining for Product Design
- How to Reduce 3D Printing Costs for Prototypes
- Rapid Prototyping Workflow Best Practices
- How to Vet and Select a Rapid Prototyping Partner
- Post-Processing, Materials, and Sustainability
- Conclusion
- Frequently Asked Questions
Last Updated: October 1, 2026
What Rapid Prototyping Means for Design Firms
Rapid prototyping is the practice of building a physical model of a product design quickly and iteratively, using techniques such as 3D printing and CNC machining, so design teams can test form, fit, and function before committing to production tooling. This guide from Alex 3D Print Us LLC explains how product design firms use rapid prototyping to compress development cycles and reduce risk.
For a design firm, the value is not the model itself. It is the speed of the feedback loop. A physical part in a client's hands surfaces problems that no screen render ever will: a housing that feels wrong in the grip, a snap-fit that cracks on the third assembly, a button that sits a millimeter too deep. Each of those discoveries is cheap at the prototype stage and expensive after injection molding tooling is cut.
Below, we break down the methods, the workflow, and the sourcing decisions that separate firms who prototype well from firms who prototype often.
Why Rapid Prototyping Speeds Up Product Validation
Validation is where rapid prototyping pays for itself. A design concept is a hypothesis; a prototype is the experiment. Firms that treat prototyping as a core development step rather than a final checkpoint catch design flaws earlier, when changes cost hours instead of weeks.
The practical gains show up in three places:
- Functional testing: A printed or machined part can be assembled, loaded, dropped, and cycled. Real-world use reveals tolerance stack-up and material behavior that CAD simulation approximates but does not replace.
- User feedback: Stakeholders and end users respond to physical models far more candidly than to renderings. A held object invites honest critique.
- Time-to-market: Iterating on a physical model in days keeps a project moving. Waiting weeks for a single hard tooled sample stalls the whole schedule.
The firms that struggle are usually the ones that prototype once, at the end, and call it validation. That is not validation. That is a reveal.
Common Rapid Prototyping Methods and Technologies
Three methods cover the vast majority of product design work: additive manufacturing, CNC machining, and injection molding for late-stage, high-fidelity needs. Each trades cost, speed, and fidelity differently, and most projects use more than one across the development cycle.
Additive Manufacturing and 3D Printing
Additive manufacturing builds parts layer by layer from a digital file, which makes it the fastest route from CAD to a physical model. Fused deposition modeling (FDM) suits early proof-of-concept and large-format parts. Stereolithography (SLA) and similar resin processes deliver finer surface finish and tighter detail for presentation models. Multi-color printing lets a firm show branding, graphics, or color breaks on a single part without painting.
The trade-off is material behavior. Printed parts rarely match the mechanical properties of the final production material, so treat them as form-and-fit models first and functional test articles second.
CNC Machining and Rapid Tooling
CNC machining cuts a part from a solid block of material, which means the prototype can be made in the same grade of aluminum or engineering plastic as the production part. When functional testing needs to reflect real material properties, tolerance, and surface finish, machining is often the right call.
Rapid tooling sits between prototyping and full production: softer or temporary molds that produce a small run of parts in the final material. It costs more upfront than a printed part but gives a truer read on how the design behaves at volume.
Injection Molding for High-Fidelity Prototypes
Injection molding produces parts with the exact geometry, material, and finish of mass production. It is the highest-fidelity option and the most expensive per iteration, so firms reserve it for designs that have already passed functional testing and design validation.
The catch is commitment. Once a steel tool is cut, design changes are costly. Use molded prototypes to confirm a design, not to explore one.
3D Printing vs CNC Machining for Product Design
The choice between 3D printing and CNC machining for product design comes down to what the prototype must prove. If the question is "does this shape work and look right," print it. If the question is "does this survive real use in the real material," machine it.
| Factor | 3D Printing | CNC Machining |
|---|---|---|
| Best for | Form, fit, early concept | Functional testing, tight tolerance |
| Material range | Limited, often not production-grade | Wide, includes production materials |
| Surface finish | Good to excellent, process-dependent | Excellent, machined finish |
| Lead time | Fast, often same-day to a few days | Fast, but setup-heavy |
| Cost driver | Part volume and material | Machine time and complexity |
| Iteration speed | Very high | Moderate |
A common mistake is defaulting to one method for an entire project. The stronger approach is to print early and machine late: use additive manufacturing to iterate geometry quickly, then switch to CNC when the design is stable enough to test under real conditions.
How to Reduce 3D Printing Costs for Prototypes
Cost control in 3D printing comes from design decisions, not just shopping around. Most of the expense in a prototype run is baked in before the file ever reaches a printer, and a few deliberate choices cut it substantially.
- Design for the process. Thin walls, unnecessary supports, and oversized solid sections all add material and machine time. Hollowing thick areas and orienting parts to minimize supports reduces both.
- Right-size the fidelity. Not every iteration needs a finished surface. A low-fidelity print answers geometry questions at a fraction of the cost of a polished model.
- Batch your iterations. Grouping several design variations into one print run spreads setup and machine time across more parts.
- Consolidate assemblies. Printing a multi-part assembly as one piece eliminates fasteners and assembly labor when the prototype only needs to demonstrate form.
- Choose the process to match the need. Reserving high-detail resin printing for presentation models and using FDM for working iterations keeps the expensive process where it earns its place.
Pricing for any specific part depends on geometry, material, quantity, and turnaround, so the reliable move is to request a quote rather than estimate from a rule of thumb.
Rapid Prototyping Workflow Best Practices
A repeatable workflow is what turns prototyping from a scramble into a development advantage. The firms that iterate fastest are not printing more; they are printing with a tighter process and clearer questions.
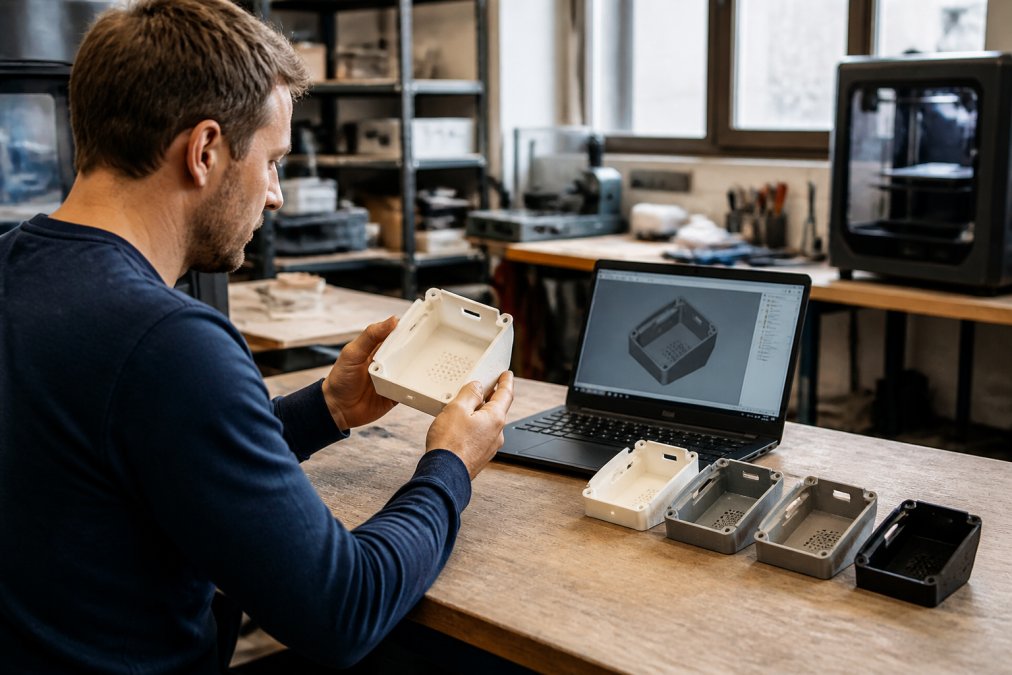
A workflow that holds up under deadline pressure looks like this:
- Define the question. State exactly what this iteration must answer before anyone exports a file.
- Run DFM checks. Review the model for printability or machinability issues before quoting.
- Build the lowest sufficient fidelity. Match the process to the question, not to habit.
- Test with real users or real loads. Gather feedback against the defined question.
- Log changes and re-iterate. Track what changed and why, so the next round is faster.
Design for Manufacturing (DFM) Checks Before You Print
DFM checks catch the issues that waste a print run: wall thickness below what the process supports, features that need supports in awkward places, and tolerances tighter than the method can hold. Running these checks before you submit a file is the single highest-use habit in the workflow. It saves material, machine time, and the days lost to a failed build.
Fidelity Levels and Functional Testing
Fidelity is a dial, not a switch. Low-fidelity models prove proportion and ergonomics. Mid-fidelity models test assembly and basic function. High-fidelity models validate the design under production-like conditions. Matching the fidelity level to the testing goal keeps cost and speed in balance, and it prevents the classic error of over-building an early concept or under-building a final validation part.
How to Vet and Select a Rapid Prototyping Partner
Most guides stop at the technology and never explain how to choose the firm that runs it. For a product design firm, the partner decision is a capability and risk decision, not a price decision. The right partner handles complex geometry, multiple materials, and post-processing under one roof, so you are not coordinating three vendors to finish one part. The wrong partner costs you a week per iteration and, in the worst case, your client's intellectual property.
Evaluate Capability, Not Just Capacity
A partner's equipment list tells you what they can run. It does not tell you what they can run well. Probe the gap between the two:
Upload your STL file for an instant quote →
- Process breadth: Can they run both additive and subtractive processes in-house, or will you need a second vendor for machining? A shop that outsources machining adds a handoff and a schedule risk to every functional iteration.
- Material range: Ask which production-grade engineering plastics and aluminum grades they stock versus order in. A partner who can machine the same grade of aluminum as your production part gives you a truer functional test.
- Build envelope and tolerance: Confirm the largest part they can produce in one piece and the tightest tolerance they will commit to in writing. Tolerances quoted verbally tend to loosen once the part is on the machine.
- Turnaround realism: Ask for their typical turnaround on a complex, multi-material part, not their best-case number. A partner who quotes same-day on a part that needs finishing is either rushing the finish or padding the schedule elsewhere.
Quality Control Signals to Look For
Quality control is where a prototyping partner either protects your design intent or quietly erodes it. Ask how they inspect incoming material, verify dimensional accuracy, and document deviations. A shop that measures parts against the CAD model and reports out-of-tolerance features before shipping is worth more than one that ships first and apologizes later. Request a first-article inspection report on your first order. If they cannot produce one, that tells you how they handle the tenth order.
IP Protection Protocols
Your client's design files are the most valuable thing you hand a vendor. Before you send a single STL, confirm the partner's IP posture:
- Will they sign a mutual non-disclosure agreement that covers the design files, not just the finished part?
- Who inside the shop can access your files, and are they stored on access-controlled systems?
- Do they use your files for portfolio, marketing, or training purposes without written permission?
- What happens to your files after the project closes, are they deleted on request?
A partner who hesitates on any of these is a liability, regardless of price. For firms working under client confidentiality obligations, this is often the deciding factor.
Pricing Structure and Hidden Costs
Ask what is included in a quote and what triggers additional charges. Common add-ons include support removal, surface finishing, painting, engraving, and file repair. A low part price that excludes finishing is not a low price; it is a partial one. Also ask whether they can scale from a single prototype to a small production run without repricing the work from scratch. A partner who treats the prototype and the pilot run as one continuous engagement removes the re-quoting delay that stalls a launch.
The Turnkey Advantage
A partner who can answer all of the above clearly is worth more than a lower quote from one who cannot. Turnkey service, where engineering support, printing, machining, and finishing sit with one provider, removes the handoff delays that quietly stretch a schedule. When one shop owns the whole chain, a tolerance miss is their problem to solve, not a dispute between three vendors.
A Simple Scorecard
Score each candidate partner on four dimensions before you commit: process breadth, quality documentation, IP protections, and pricing transparency. A partner who scores well on all four is a long-term asset. A partner who wins on price alone is a single-project gamble.
Post-Processing, Materials, and Sustainability
Post-processing and material choice are where a prototype becomes presentable, and where waste accumulates if nobody is watching. Most guides treat post-processing as a footnote. In practice, it is the step that determines whether a part reads as a rough concept model or a production-ready component in a client's hands.
Post-Processing: From Print to Presentation
Every additive process leaves artifacts that finishing must address. Support removal is the first step, and it is where thin features break if the part was oriented poorly. Sanding and bead blasting smooth layer lines and prepare the surface for paint or dye. Vapor smoothing, used with certain resin and thermoplastic processes, dissolves surface texture for a near-injection-molded finish. Painting, dyeing, and laser engraving add branding, graphics, or functional markings.
Plan post-processing into the schedule, not after the print finishes. A part that needs three finishing steps can take as long as the build itself. For presentation models, budget the finishing time as a separate line item; for working iterations, skip it entirely and save the days.
Materials: Matching the Prototype to the Production Part
Material selection follows the same logic as process selection. Early iterations can use economical materials because the question is geometry, not performance. Validation parts should use something that behaves like the production material, because the question is whether the design survives real use.
The gap between prototype material and production material is the most common source of false confidence. A printed part in a photopolymer resin can pass a drop test that the same geometry in production polycarbonate would fail, or vice versa, because the two materials have different stiffness, impact resistance, and fatigue behavior. When the test result matters, machine the part from the production-grade material rather than printing an approximation.
The Prototype-to-Production Transition
The handoff from prototype to production is where designs most often stall. A prototype that works as a one-off may not be manufacturable at volume because of draft angles, wall thickness, gate locations, or assembly sequence. Running design-for-manufacturing checks before the transition catches these issues while changes are still cheap.
A practical sequence: validate form and fit with printed models, validate function with machined parts in production material, then validate manufacturability with a small pilot run before committing to hard tooling. Each stage answers a different question, and skipping one pushes its risk downstream where it costs more.
Sustainability: Waste Reduction as a Design Discipline
Sustainability in prototyping is mostly a design discipline, not a purchasing decision. Less support material, fuller builds, and fewer throwaway iterations add up. Several practical moves help:
- Design to minimize supports, which cuts both material use and finishing labor.
- Batch parts to fill build volumes rather than running half-empty builds.
- Recycle failed prints and support material where the process allows.
- Keep a library of past prototypes for internal reference instead of reprinting reference parts.
- Right-size fidelity so you are not consuming high-detail material and machine time on a model that only needs to prove proportion.
The firms that reduce prototyping waste fastest are the ones that treat every build as a question to answer, not a part to produce. Fewer, better-targeted iterations beat more iterations every time.
Post-processing, material matching, and waste reduction are not afterthoughts. They are the steps that turn a prototype into a decision-making tool and keep the prototype-to-production transition from stalling.
Conclusion
The pressure to shorten development cycles keeps rising, and the firms that respond by prototyping deliberately, not constantly, are the ones that ship on schedule. The hard part is finding a partner who can move from a rough concept model to a finished, functional, presentation-ready part without handing you off to three different shops.
Alex 3D Print Us LLC provides comprehensive turnkey engineering, design, 3D printing, and custom fabrication services. Utilizing advanced technology like Bambu Lab multi-color printing, xTool UV, and MOPA laser engraving, we help bring your ideas to life with precision and quality. Upload your STL file for an instant quote and experience fast turnaround times.
Frequently Asked Questions
What are the benefits of rapid prototyping for product design firms?
Rapid prototyping compresses the iterative design cycle. Instead of waiting weeks for a machined or molded part, a firm can print a physical model in days or even hours, run functional testing, gather user feedback, and revise the CAD file before committing to tooling. That shorter loop reduces design validation risk, lowers the cost of late-stage changes, and speeds up time-to-market. It also gives stakeholders something to hold, which surfaces assembly and tolerance problems that screen renders hide.
How does 3D printing reduce product development costs?
Most of the savings come from avoiding expensive tooling before the design is locked. Additive manufacturing builds parts directly from a CAD file, so there is no injection mold or custom fixture to pay for at the prototype stage. You also cut shipping and rework costs because you can iterate locally. To reduce 3D printing costs further, orient parts to minimize supports, choose standard material properties over exotic ones, and batch similar parts into one build.
How do you choose a rapid prototyping partner for your firm?
Start with capability fit: can they handle multi-material parts, tight tolerances, and post-processing in-house, or will you be bounced between vendors? Ask what is actually included in a quote so setup charges and finishing fees do not appear later. Confirm realistic lead times for your iteration cadence, not just best-case turnaround. For startups and firms scaling production, ask how pricing holds up from a small batch to a larger run. Uploading an STL file for an instant quote is a fast way to test responsiveness before committing.
What is the typical turnaround time for professional prototyping services?
It depends on the method and finishing. Simple 3D-printed parts can ship in a few days, while CNC machined or rapid-tooled parts take longer because of setup and programming. Post-processing such as laser engraving, UV printing, or surface finishing adds time. If your product iterations run on a weekly cadence, ask the provider to confirm their standard and rush lead times up front, and check whether post-processing happens in the same shop so you are not waiting on a second vendor.