
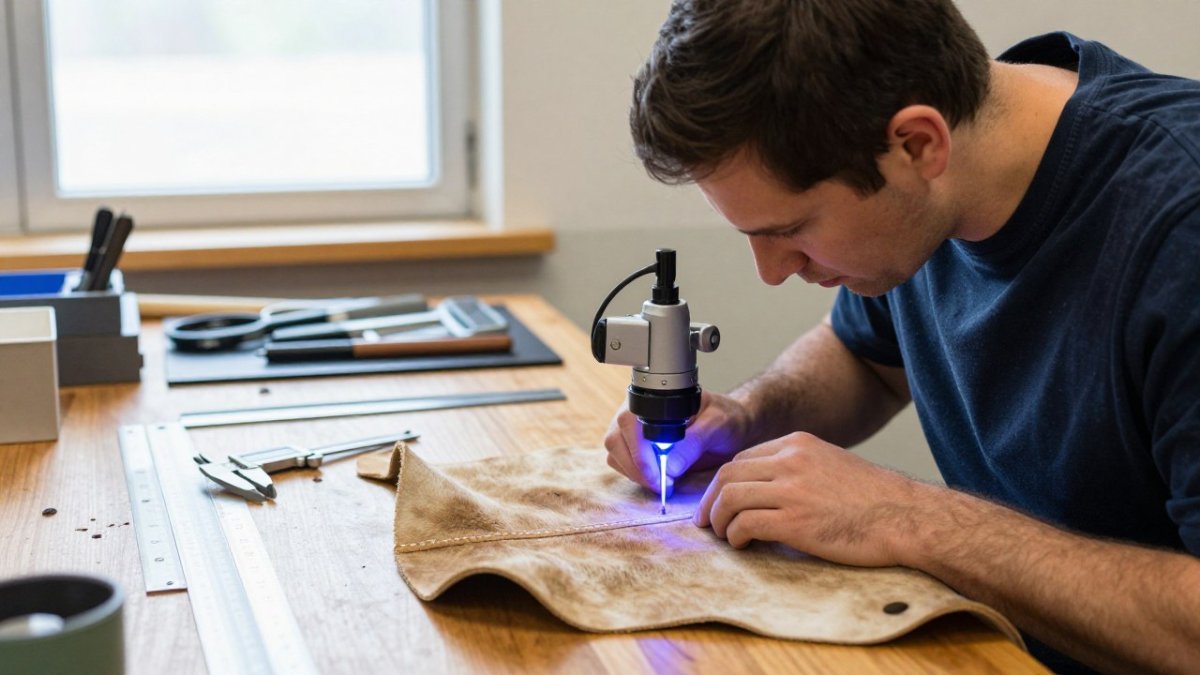
How to Laser Engrave Leather for Promotional Products
Quick Summary
To laser engrave leather for promotional products, choose an even, lightly scarred vegetable-tanned hide of about 2 to 3 mm, since it takes a clean burn and ages well. Then test power and speed on a scrap from the same hide before running any production batch.
- Vegetable-tanned leather suits engraved branding, while chrome-tanned suits soft goods where stretch matters more.
- Convert text to outlines and remove details thinner than about 0.3 mm before engraving.
- Start 40W CO2 tests at 15 to 25 percent power and 300 to 500 mm/s, then bracket by about 20 percent.
- Keep air assist running and reduce power on thin pieces to prevent scorching.
- Run a test piece and approve a physical sample before starting the full order.
Table of Contents
- Choosing the Best Leather for Laser Engraving
- Preparing Your Logo File for Leather Engraving
- Laser Engraving Leather Settings to Start With
- Step-by-Step: Engraving a Logo on Leather
- Engraved Leather Keychains and Other Promotional Products
- Cleaning and Finishing Engraved Leather
- Order Your Engraved Leather Promotional Pieces from Alex 3D Print Us
- Frequently Asked Questions
How to Laser Engrave Leather for Promotional Products
Last Updated: November 8, 2026
Choosing the Best Leather for Laser Engraving
Most laser-engraved leather goods look good in the shop but fade in the hand. The reason is almost always the leather, not the laser, so when you laser engrave leather, the right hide matters more than any single setting.
For a promotional item, you want the logo to stay crisp for years, so pick leather that takes a clean burn, holds color, and ages well.
- Pick a hide with an even surface and few scars, and read guidance on selecting materials for engraved merchandise to narrow your options.
- Choose a thickness that suits the product, usually 2 to 3 mm for keychains
- Ask your supplier for a sample before ordering in bulk
Vegetable-tanned versus chrome-tanned leather
Rule of thumb: vegetable-tanned for engraved branding, chrome-tanned for soft goods where stretch matters more than mark quality.
Leather types to avoid
Some leathers simply do not engrave well. Avoid these for promotional work:
- Heavily coated or embossed leathers, which can release fumes and burn unevenly
- Thin splits that curl or scorch through
- Faux leather and PU coatings, which can melt and give off unpleasant odors
Preparing Your Logo File for Leather Engraving
- Convert all text to outlines so fonts do not shift
- Remove tiny details thinner than about 0.3 mm
- Use solid black fills for raster engraving, and hairline strokes only for vector cutting
Laser Engraving Leather Settings to Start With
Every laser and every hide behaves differently, so laser settings depend on the machine's power, the beam quality, and the leather's thickness.
What the settings actually control
On a CO2 laser, three parameters do most of the work. Power sets how much energy reaches the surface. Speed sets how long the beam dwells on any one spot. Passes multiply the total energy delivered.
On a diode laser, the same logic applies, but the beam profile differs and the practical power range is narrower; diode users typically need slower speeds and more passes to match a CO2 tube's darkness in one pass.
Starting points by machine class
Use these as first tests, then bracket up and down by about 20 percent until the mark is right.
- 40W CO2, vegetable-tanned 2-3 mm: 15-25 percent power, 300-500 mm/s, one pass, focus on the surface.
- 60-80W CO2, vegetable-tanned 2-3 mm: 10-20 percent power, 500-800 mm/s, one pass.
- 40W CO2, chrome-tanned: 8-15 percent power, 400-600 mm/s, one pass, and expect a lighter, grayer mark.
- 10-20W diode, vegetable-tanned 2-3 mm: 60-80 percent power, 80-150 mm/s, two to three passes with air assist.
Air assist and fume control
Watch out: chrome-tanned leather can release fumes harsher than vegetable-tanned, and some coated or faux leathers can produce fumes you do not want in a shared shop. If the smell is sharp or the smoke is heavy, stop and check the material before running a batch.
Focus, focal length, and line quality
Focus on the leather surface, not the bed, unless your machine's autofocus compensates for material thickness. A shorter focal-length lens gives a finer spot and sharper small text but a shallower depth of field, so the leather must sit flat; a longer lens tolerates slight height variation but produces a wider kerf.
Running a test piece before production
Never run a full batch without a test. Cut a small scrap from the same hide and engrave a sample of your logo at three or four power levels.
A test takes a few minutes and can save a whole order. Keep the test scrap with your notes so the next run starts from a known reference.
Preventing scorching and burn marks
Scorching usually comes from too much heat staying in one spot. Slow the rate of repeated passes, lower the power, and keep the air assist running to clear smoke.
Watch out: scorch marks spread farther on thin leather, so reduce power more on lighter pieces. On thin splits, a single slow pass at low power is usually safer than multiple fast passes, which reheat the same area.
Recording settings for repeatability
Write down every setting you test: machine, lens, power, speed, passes, air assist, focus method, hide type, and thickness. Good notes save hours on the next order and let you hand a job to another operator without guesswork.
The article gives these starting settings by machine class, to be bracketed up or down by about 20 percent.
| Machine and leather | Power | Speed and passes |
|---|---|---|
| 40W CO2, vegetable-tanned 2-3 mm | 15-25% | 300-500 mm/s, one pass |
| 60-80W CO2, vegetable-tanned 2-3 mm | 10-20% | 500-800 mm/s, one pass |
| 40W CO2, chrome-tanned | 8-15% | 400-600 mm/s, one pass |
| 10-20W diode, vegetable-tanned 2-3 mm | 60-80% | 80-150 mm/s, two to three passes |
Power
Step-by-Step: Engraving a Logo on Leather
Follow this order each time for consistent results:
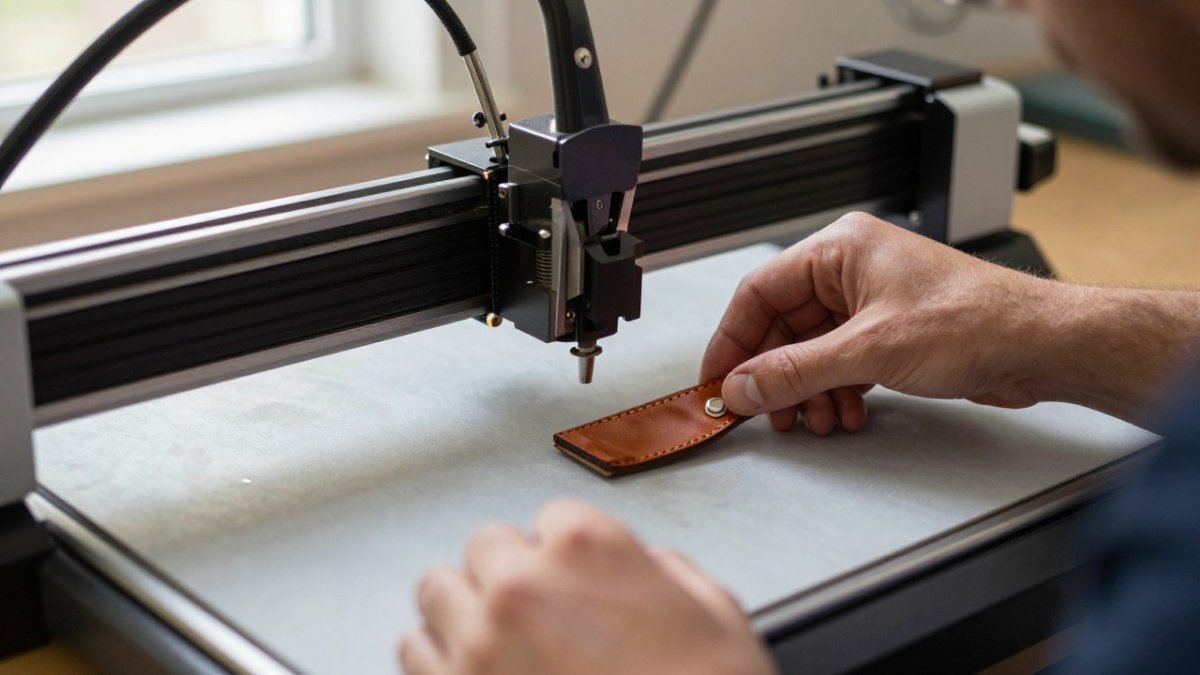
- Prepare and clean the leather surface, then let it lie flat.
- Load the vector logo file and confirm its final size.
- Place the piece on the bed and set the focus.
- Run your saved test settings on a scrap piece.
- Check the test mark and adjust power or speed if needed.
- Engrave the production run, checking the first piece closely.
- Let each piece cool and inspect it before packing.
The key checkpoint is step 5. Do not skip it, even when the order is urgent. A few minutes of testing prevents a batch of ruined pieces.
Engraved Leather Keychains and Other Promotional Products
Keychains are a common engraved leather promotional item, and a well-engraved keychain can stay in front of a recipient for years. But the product list is the easy part, the harder part is designing a program that fits your budget, timeline, and how your audience actually uses the item.
Matching the product to the program
Different promotional products do different jobs. A keychain is a long-dwell, low-cost item for broad giveaways. A card holder or luggage tag is a higher-perceived-value item for client gifts and conference VIPs. A coaster or notebook cover works for desk-side branding seen daily.
Pick items your audience will actually use, a logo on something used daily earns far more attention than one on an item that sits in a drawer.
- Keychains: 2 to 3 mm vegetable-tanned leather
- Card holders: 1.5 to 2 mm for a slim profile
- Coasters: 3 to 4 mm for a solid feel
- Luggage tags: 2 to 3 mm, with a reinforced strap hole
- Notebook covers: 1.5 to 2.5 mm, depending on whether they wrap a insert or a bound book
Production specifications to settle before you order
Most promotional leather programs go wrong at the specification stage, not the laser. Settle these before you approve artwork:
- Artwork size and placement: confirm the engraved area in inches and its position on the piece. A logo too large for the keychain will get cropped or squeezed and look amateur.
- File format: supply a vector file such as SVG, AI, or EPS. Raster images can work for photographic marks but need high resolution and a clear conversion plan.
- Color and contrast: on vegetable-tanned leather, the mark is a burn, not an ink. Expect dark brown to near-black, not a color match. If brand color is critical, discuss a fill or paint step with your vendor before production.
- Edge and finish: decide whether edges are raw, burnished, or painted, and whether the piece gets a conditioner or wax coat, these choices affect look and cost.
- Hardware: specify split rings, swivel clips, and strap holes by size and finish so they match the leather and the brand.
Quantities, lead time, and cost drivers
Pricing depends on quantity, dates, and delivery. Contact us or visit our website for current prices or a quote.
Designing for the hand, not just the screen
A promotional leather piece is handled, pocketed, and dropped. Design for that reality:
- Keep the logo at least 0.125 inch from any edge so wear does not clip it.
- Avoid hairlines thinner than about 0.3 mm; they disappear in the burn.
- Test the mark at actual size in the hand, not zoomed in on a monitor.
- Choose hardware that will not scratch phones or keys in a pocket.
Measuring whether the program worked
A promotional product is a marketing spend, so treat it like one. Before the run, decide what success looks like: pieces distributed, qualified conversations or leads traced to the item, redemption of a QR code or short link printed alongside the engraving, and repeat orders from recipients. A simple post-event check-in with a subset of recipients tells you more than a stack of impressions.
A short preflight checklist
Before you approve a promotional leather run, confirm:
- The hide is vegetable-tanned unless the product needs stretch.
- The artwork is vector, sized to the piece, and cleared of hairlines.
- A physical sample has been engraved and approved.
- Hardware, edges, and finish are specified.
- Quantities, lead time, and a trackable success measure are agreed.
That checklist is the difference between a box of engraved leather and a promotional program that earns its budget.
Cleaning and Finishing Engraved Leather
After engraving, the leather often has a faint smoke film and loose residue. Wipe gently with a soft, dry cloth; for stubborn residue, use a barely damp cloth and dry the piece right away.
Finish with a light coat of leather conditioner or neutral wax to deepen the color, protect the mark, and help the surface age evenly.
Test any finish on a scrap first, since some products can darken the leather or lift the engraved area.
Order Your Engraved Leather Promotional Pieces from Alex 3D Print Us
Engraving leather well takes the right hide, a clean logo file, and careful testing. Alex 3D Print Us LLC offers turnkey engineering, design, and custom fabrication services.
If you are planning a quarterly event or a launch, you can upload your logo file for an instant quote to see how your engraved pieces would look. Our laser engraving services cover leather, and our team can advise on material and sizing for your product.
Upload your STL file for an instant quote and let us turn your logo into leather promotional products your customers will keep.
Frequently Asked Questions
Can you laser engrave leather?
Yes. Laser engraving is one of the most common ways to mark leather because the beam vaporizes the surface and leaves a crisp, permanent design. Vegetable-tanned leather gives the cleanest, darkest result, while chrome-tanned leather often engraves lighter and can release fumes. Always run a scrap test first, since leather thickness, tannage and finish all change how the material responds to the beam.
What types of leather are safe to laser engrave?
Vegetable-tanned leather is the safest and most reliable choice for laser engraving. Natural, uncoated cowhide and similar full-grain stock produce clean edges and a rich contrast. Avoid chrome-tanned leather, which can emit hazardous chromium compounds when heated, and avoid PVC or vinyl-based faux leathers, which release toxic chlorine gas. Always confirm the material before engraving and use proper ventilation with a filtration system.
How do you prevent leather from scorching during laser engraving?
Scorching usually comes from too much power or too slow a speed. Lower the power in small steps, increase the speed, and run a test on a scrap of the same leather. Use air assist to keep heat away from the cut area, make sure the material lies flat on the bed, and clean the lens and mirrors so the beam stays focused. Once the settings look right, a light wipe with a damp cloth removes any residue.
How do you clean leather after laser engraving?
Brush away loose debris with a soft brush, then wipe the surface with a damp microfiber cloth. For darker residue, use a small amount of mild leather cleaner and a soft cloth, testing it on a hidden area first. Let the piece air dry fully before applying a leather conditioner or protective finish. Avoid soaking the leather, since excess water can warp the grain and affect the engraved detail.
