
3D Printing Multi-Color Quality Guide
Table of Contents
- Understanding Multi-Color and Multi-Material Printing Basics
- Choosing a 3D Printer Model Suitable for Color Changes
- Assigning Colors to Model Regions in Your Slicer
- 3D Printer Color Change Settings for Optimal Results
- How to Reduce Filament Waste in Multi-Color 3D Printing
- The three-way trade-off: quality, time, waste
- Measure your own trade-off with a controlled test
- Design with fewer color changes
- Purge tower vs. purge block
- Optimize purge volume per color pair, not globally
- Plan your color order strategically
- Reuse purge waste for test prints
- Batch similar jobs together
- When waste reduction is not worth it
- Multi-Color 3D Print Troubleshooting: Common Issues and Fixes
- Multi-Color 3D Printing Design Tips for Production Success
- Frequently Asked Questions
Last Updated: October 12, 2026
Understanding Multi-Color and Multi-Material Printing Basics
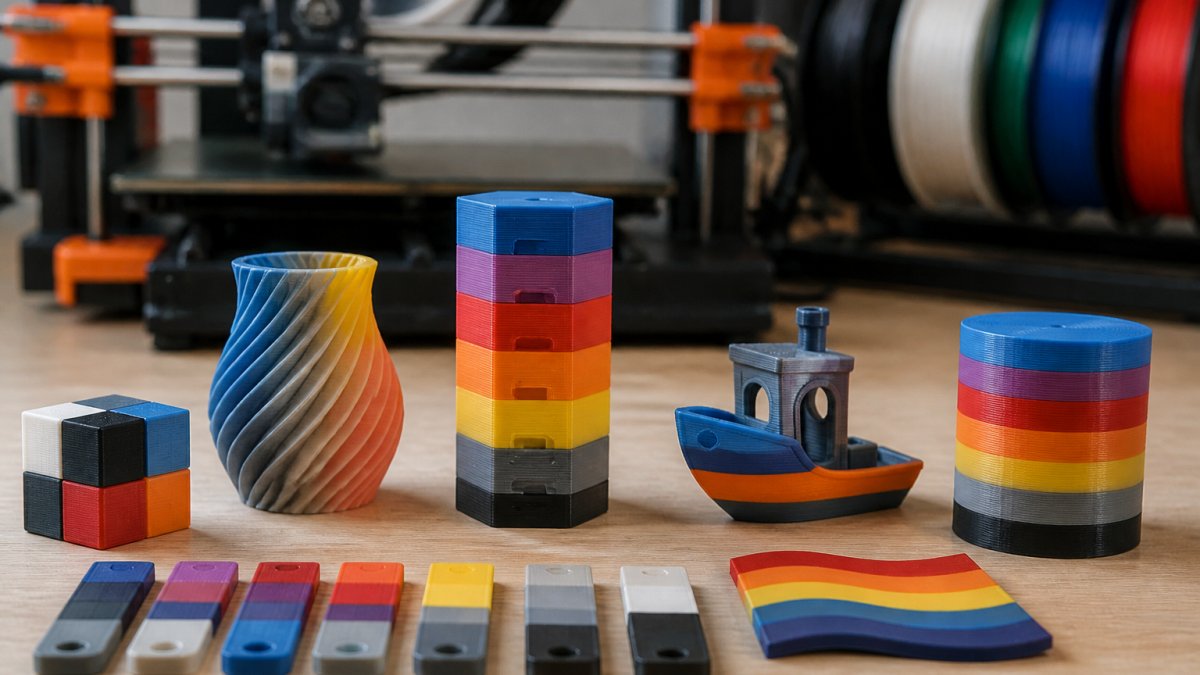
This 3d printing multi color quality guide covers multi-color and multi-material 3D printing, which creates parts with different colors or materials in a single print by switching filaments at specific layers or regions, enabling prototypes, promotional items, and functional parts that would otherwise need assembly or post-processing.
Your slicer assigns colors or materials to different regions; when the printer reaches those sections, it pauses, swaps filament, and continues.
Each filament swap is a potential failure point, and temperature mismatches, purge waste, and color bleeding can ruin an otherwise solid print.
The difference between a stunning result and a failed print comes down to these fundamentals.
Choosing a 3D Printer Model Suitable for Color Changes
Not every 3D printer handles multi-color printing well. Some struggle with filament swaps. Others waste too much material during purges. Choosing the right printer is your first critical decision.
Look for these key features:
- Dual extruders or multi-material support, Single-extruder printers can do color changes, but dual-extruder systems handle them more smoothly
- Reliable filament loading, The mechanism must grip and release filament cleanly without jamming
- Purge tower or purge block capability, This wastes less filament during color transitions
- Good temperature stability, Inconsistent heating causes color bleeding and adhesion problems
- Software that supports color assignment, Your slicer must let you assign colors to model regions easily
Many manufacturers now offer models designed specifically for multi-color work. Research reviews from users doing similar projects. Ask about real-world print success rates, not just theoretical specs.
Your printer determines filament waste, jam frequency, and turnaround speed.
Assigning Colors to Model Regions in Your Slicer
Once you've chosen a printer, prepare your model in your slicer software, where you assign colors to parts.
Most modern slicers let you import your STL or OBJ file and paint regions with different colors:
- Import your model into your slicer
- Identify which regions should be which color, Think about your design. Which parts will stand out? Where does color contrast matter?
- Use the color assignment tool to paint or select regions
- Preview the result before slicing, Most slicers show you a visual preview of your multi-color design
- Check layer transitions, Make sure color changes happen at logical points, not mid-detail
A common mistake is changing colors mid-feature, which risks color bleeding or weak layer adhesion at that transition.
Better approach: change colors between major sections, a base and top, or distinct regions.
The slicer also shows where filament swaps occur.
3D Printer Color Change Settings for Optimal Results
Color change settings are where most people struggle, small adjustments separate a clean transition from a blurry mess. Work backward from the defect you see, not from a generic settings list.
Start with a baseline, then change one variable at a time
Before any multi-color job, print a single-color test part at your planned temperature and note the setting that gives clean layer lines and good interlayer adhesion, that's your baseline. Then run a small two-color test cube, changing only one setting per test.
Temperature management
Each filament has an ideal print range. Temperature mismatches during color switches cause color bleeding, poor layer adhesion, and clogs.
Keep the nozzle within the overlap of both filaments' recommended ranges, if one prints at 200-220°C and the other at 210-230°C, swap at 210-220°C. If the ranges don't overlap, expect a trade-off: you'll run the cooler filament slightly hot or the hotter one slightly cool, and one color will show it.
Retraction and purge settings
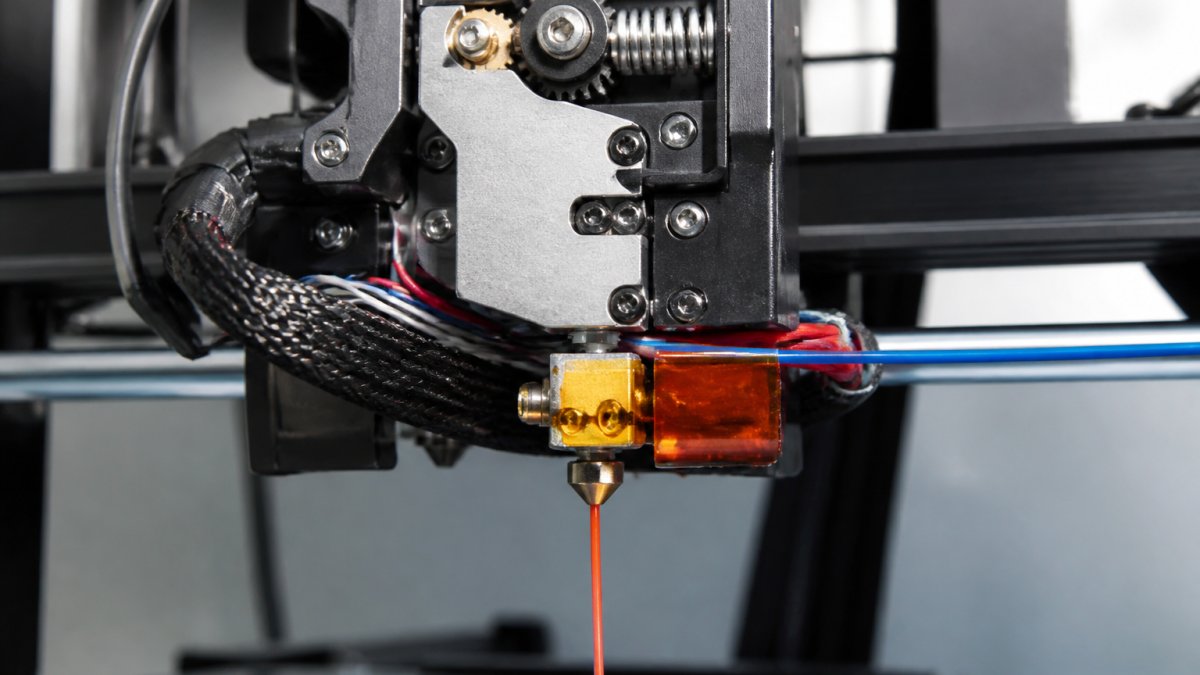
When the nozzle stops extruding one color it retracts filament; when it starts the new color it purges old material into a waste tower or block.
Set retraction distance to match your hotend: direct-drive extruders commonly use 0.5-2mm, Bowden setups 4-7mm.
Purge volume is how much new filament you extrude before resuming. More purge means cleaner colors but more waste.
First layer height
If the first layer is too thin or thick, later color transitions won't align. Dial it in with a calibration print, a first layer off by even 0.05mm can shift where a color boundary lands.
Defect-to-setting troubleshooting map
Use this table to move from a visible problem to a specific corrective setting. Change one row at a time and re-test.
| Visible defect | Likely cause | Corrective setting |
|---|---|---|
| Blurry color boundary (bleeding) | Insufficient purge or temperature mismatch | Increase purge volume 10-20%; align nozzle temp to overlap range |
| Layers peel at color change | Nozzle cooled during swap | Raise transition-layer temp 5-10°C; verify no cooling fan spike at swap |
| Blobs at color boundary | Ooze during travel to purge tower | Increase retraction slightly; enable wipe-on-retract if available |
| Stringing between colors | Wet filament or low retraction | Dry filament; increase retraction 0.2-0.5mm |
| Weak interface between materials | Poor chemical compatibility or low temp | Raise temp to top of overlap; add mechanical interlock in model |
| Layer shift after swap | Belt tension or nozzle collision with purge tower | Re-tension belts; lower purge tower height or move it away from part |
| Color contamination deep in part | Purge volume too low for high-contrast pairs | Increase purge for dark-to-light transitions only |
A note on material pairs
Not all filaments bond to each other. PLA and PETG don't adhere well, so designs relying on layer-to-layer bonding between them will delaminate. For those pairs, add mechanical interlocks (dovetails, captive features, or through-holes).
How to Reduce Filament Waste in Multi-Color 3D Printing
Filament waste is one of the biggest costs in multi-color printing: every swap generates purge waste and every failed print wastes material. Reducing waste improves margins, but always trades against color cleanliness, print time, or surface finish.
The three-way trade-off: quality, time, waste
Every multi-color decision moves three levers at once, and you can't minimize all three:
- More purge volume → cleaner color boundary, more waste, slightly more time
- More color swaps → more visual detail, more waste, significantly more time
- Lower layer height → finer detail and cleaner boundaries, more time, similar waste per swap
- Larger purge tower → cleaner transitions, more waste, more time
A practical way to think about it: purge waste scales with swap count, not part size. A small part with ten swaps can waste more filament than a large part with two.
Upload your STL file for an instant quote →
Measure your own trade-off with a controlled test
You don't need lab equipment to find your sweet spot. Run this test:
- Pick a small two-color model with one color boundary.
- Print it three times, changing only purge volume: low, medium, high (for example, 15mm, 30mm, 45mm of purge filament).
- Weigh or measure the purge tower after each print.
- Inspect the color boundary under bright light.
- Record print time for each run.
The result is a personal curve: the lowest purge volume that still gives a clean boundary. Above that number is wasted filament; below it is a quality risk. Most practitioners find their clean-boundary threshold sits lower than expected once temperature is dialed in, because temperature mismatch, not purge volume, is often the real cause of bleeding.
Design with fewer color changes
Each swap creates purge waste, so a design with five color regions wastes filament five times. Consolidate regions and group small details into larger color blocks, a logo in one color instead of three cuts swaps by two-thirds.
Purge tower vs. purge block
A purge tower is a separate structure that collects waste during color transitions; a purge block prints waste onto or beside your part for later removal. Towers are cleaner but use more filament; blocks save material but risk marring the surface. For high-contrast pairs the tower is usually worth it; for low-contrast pairs a block may be fine.
Optimize purge volume per color pair, not globally
A single purge volume for the whole print is a compromise. Dark-to-light transitions need more purge than light-to-dark. If your slicer supports per-transition purge settings, set a higher value for dark-to-light and a lower value for light-to-dark, this alone can cut total purge waste noticeably.
Plan your color order strategically
Print lighter colors first, then darker ones: dark contaminating light is obvious, while light contaminating dark is hidden. This reduces the purge volume needed for each transition.
Reuse purge waste for test prints
Purged filament isn't usable for your final part but is fine for calibration prints. Keep a spool of mixed-color purge waste for testing settings, just note it can have inconsistent diameter, so don't use it for dimensional tolerance tests.
Batch similar jobs together
If you're printing ten multi-color parts with the same color sequence, load one long job instead of ten, you'll purge once per color, not once per part. The trade-off: a single failure ruins the whole batch, so batch only after your settings are proven.
When waste reduction is not worth it
If a part is a one-off display piece where color cleanliness is the top priority, don't chase waste reduction, run generous purge, use a tower, and accept the waste. Waste reduction pays off on repeat production runs, not one-offs.
Multi-Color 3D Print Troubleshooting: Common Issues and Fixes
Even with good planning, things go wrong.
Cause: Temperature mismatch or insufficient purge.
Cause: Temperature drop during the swap or poor nozzle contact.
Filament jams during color swap, The printer gets stuck and won't extrude.
Cause: Retraction distance too long, temperature too low, or filament tangled.
Print fails mid-swap, The print stops and won't resume.
Cause: Sensor error, filament runout, or software crash.
Cause: Slight misalignment of the color change point or nozzle ooze.
Multi-Color 3D Printing Design Tips for Production Success
Designing for multi-color printing differs from single-color design.
Test your design at scale. Print a small test version first. See how colors look together.
For promotional products and trade-show pieces, color choice matters as much as design. Bright, high-contrast colors photograph well.
Getting multi-color prints right takes practice, but following this 3d printing multi color quality guide, the results are worth it.
If you're building multi-color parts for your business, Alex 3D Print Us LLC can handle the complexity. Upload your STL file for an instant quote and see what's possible.
Frequently Asked Questions
How do you get clean color changes in multi-color 3D prints?
Clean color changes depend on three factors: purge tower settings, nozzle temperature management, and filament loading precision. Configure your slicer to generate a purge tower tall enough to flush out the previous color completely before the nozzle returns to the model. Maintain consistent nozzle temperature during filament swaps to prevent color bleeding at transition layers. Load new filament firmly until you feel resistance, then extrude 10-15mm of material before resuming the print. Most quality issues stem from inadequate purging or temperature fluctuations between color changes.
What settings improve the quality of multi-color 3D prints?
Start with a layer height of 0.16mm or finer for color-change models to minimize visible banding. Reduce flow rate by 2-3% during color transitions to account for filament inconsistencies. Increase retraction distance by 1-2mm and retraction speed to 40-50mm/s to prevent color contamination in the nozzle. Set purge tower width to at least 10mm and height to match your color-change layers. Calibrate first-layer adhesion and bed temperature for each filament type used, as inconsistent first layers compound quality problems across multiple colors.
How can you prevent color bleeding in multi-color 3D prints?
Color bleeding occurs when old filament remains in the nozzle during a color change. Prevent it by increasing flushing volume in your slicer's color-change settings (typically 60-100mm of extrusion per color swap). Use a purge tower positioned away from the model to absorb residual color. Monitor nozzle temperature during transitions; if it drops below the filament's minimum, color will not extrude cleanly. For models with fine detail near color boundaries, add a 0.4mm buffer zone in the model design to hide any minor color overlap.
Can you print multiple colors without an automatic filament changer?
Yes, using pause-and-swap method. Design your model with distinct color regions and slice it to pause at the layer where the color changes. When the printer pauses, manually remove the current filament, load the new color, and resume. This method works for designs with 2-4 colors but becomes tedious with more. It generates more filament waste than automatic systems because you must purge each color change manually. Pause-and-swap is ideal for one-off prototypes or when your printer lacks automatic changeover capability.