
How to Design Vector Files for Laser Engraving Services
Last Updated: October 28, 2026
Quick Summary
The best format for laser engraving services is usually SVG, because it keeps clean vector artwork, sharp outlines, and scalable geometry. DXF is the safer choice for CAD-style cutting paths, while AI and PDF work well as backups when your provider supports them. Convert every text element to outlines before sending.
- Set the artboard to your final part size in millimeters and work in millimeters, not pixels.
- Cut paths must be closed, single-line paths with no fill and a hairline stroke of 0.1 mm or less.
- Keep small engraving details above roughly 0.5 mm so they survive the burn.
- Leather needs bolder lines and more spacing, and fine text under about 6 mm usually fills in.
- Embedded raster images left in the file are the single most common rejection reason.
Table of Contents
- Start With the Right Laser Engraving File Formats
- Pick Design Software That Exports Clean Vector Artwork
- How to Convert a Logo to Vector for Engraving
- Laser Engraving Design Guidelines for Cut Paths and Engraving Areas
- Match Your Vector Setup to the Material
- Where to Find Free Laser Engraving Templates
- Preflight Checks Before You Send Files to a Laser Service
- Upload Your Artwork for an Instant Quote
- Frequently Asked Questions
Start With the Right Laser Engraving File Formats
The best format for a laser engraving service is usually SVG. It keeps clean vector artwork, sharp outlines, and scalable geometry. DXF is the safer choice for CAD-style cutting paths. AI and PDF work well as backups when your provider supports them.
Laser engraving needs paths, not pixels.
Here is how the main formats compare:
| Format | Best For | Watch Out For |
|---|---|---|
| SVG | Engraving artwork, logos, text | Text must be converted to outlines |
| DXF | Cut paths, CAD parts, signage | Limited support for fills and gradients |
| AI | Illustrator-native designs | Version conflicts on older machines |
| Proofing and handoff | Layers can merge unexpectedly |
SVG, DXF, AI, and PDF: What Each Format Does Well
SVG is an open vector format built for web and print work. It handles curves, strokes, and fills cleanly. Most laser software reads it without complaint.
DXF is a CAD exchange format. It suits flat parts, brackets, and anything with precise dimensions. It drops gradients and complex fills, so use it for geometry, not artwork.
AI files come from Adobe Illustrator. They preserve layers and artboards, but older laser software may reject newer versions. Save a copy as SVG before sending.
PDF is a handoff format, not a design format. It is great for proofs and client approval. It is risky for production because layers and strokes can merge during export.
One rule covers all four: convert every text element to outlines. Missing fonts are the most common cause of a failed file.
Pick Design Software That Exports Clean Vector Artwork
Two tools cover most workflows, and one is free.
Inkscape is a free vector editor that handles SVG natively. It suits beginners and small shops preparing laser files. The tradeoff: the interface feels dated, and some machine-specific plugins are missing.
Adobe Illustrator is the industry standard for professional vector artwork. It gives you precise control over nodes, strokes, and path direction. It costs money, and the learning curve is real.
A few other options earn their place:
- Scan2CAD converts scanned sketches and old artwork into vector outlines.
- xTool Creative Space pairs with xTool machines and accepts SVG, DXF, PNG, and JPG files.
- CorelDRAW remains common in sign shops that already run it.
Whichever tool you choose, set up your document correctly before you draw anything:
- Set the artboard to your final part size in millimeters.
- Set units to millimeters, not pixels.
- Work in one layer for cuts and one for engraving.
- Turn on stroke width display so line weight stays visible.
That last step matters more than most guides admit. A 0.1 mm stroke looks fine on screen and disappears on the machine.
How to Convert a Logo to Vector for Engraving
Turning a logo into vector artwork takes four steps, and the quality of the source image decides the outcome.
Step 1: Get the highest-resolution source you have. A clean PNG or a scanned print beats a screenshot. Blurry input produces blurry outlines.
Step 2: Trace the image. In Inkscape, use Path > Trace Bitmap. In Illustrator, use Image Trace. Start with a black-and-white trace, then adjust the threshold until the edges look right.
Step 3: Clean up the result. Image tracing produces messy nodes. Delete duplicate points, close open paths, and smooth rough contours. This is where most people quit too early.
Step 4: Check scale and stroke weight. Scale the logo to its final size before you refine anything. Line weights that look correct at 300 mm look heavy at 30 mm.
Watch out: auto-tracing a low-contrast logo often produces a filled blob instead of clean outlines. Check the result at 400% zoom before you send it anywhere.
If your logo has fine text, retype it in a clean font and convert it to outlines. Traced text rarely engraves well.
Laser Engraving Design Guidelines for Cut Paths and Engraving Areas
Separate your cut paths from your engraving areas, and half of your file problems disappear.
Cut paths are lines the laser follows to cut through material. They must be closed, single-line paths with no fill. Set them to a hairline stroke, usually 0.1 mm or less.
Engraving areas are regions the laser fills with a pattern. They can be filled shapes, hatched areas, or outlined text. Keep small details above roughly 0.5 mm so they survive the burn.
A practical checklist for both:
- All cut paths are closed
- No duplicate lines stacked on top of each other
- Stroke weight set to hairline for cuts
- Text converted to outlines
- No embedded raster images left in the file
- Design fits inside the machine bed with margin
Line Weight, Nodes, and Closed Paths
Line weight tells the laser how thick to draw a stroke. For engraving, heavier strokes burn wider and darker. For cutting, weight should be hairline so the beam follows a single line.
Upload your STL file for an instant quote →
Nodes are the control points on a curve. Fewer nodes mean smoother curves and faster processing. A clean circle needs four nodes, not forty.
Closed paths start and end at the same point. Open paths cause the laser to stop mid-cut or skip the shape entirely. In Inkscape, use Path > Close Path. In Illustrator, use Object > Path > Join.
One insider tip: run a "select all duplicate lines" check before export. Stacked duplicates double the burn time and scorch the material.
Match Your Vector Setup to the Material
Material choice changes how your vector file should be built, not just how the machine runs.
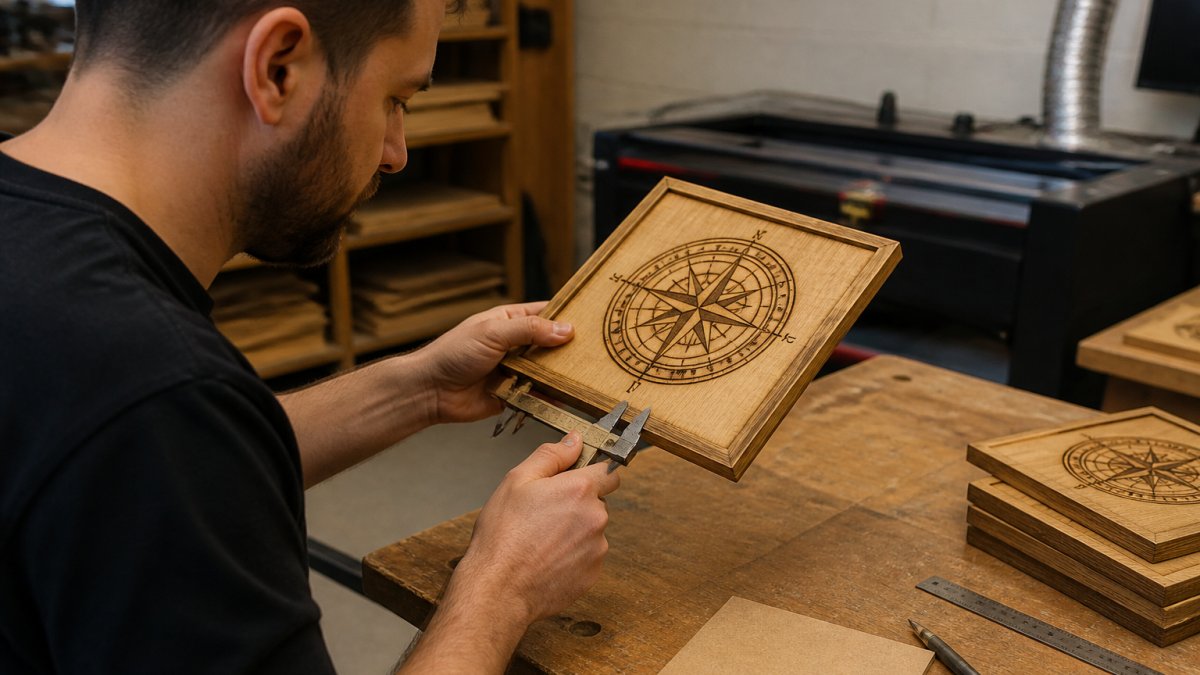
Wood engraves with high contrast and accepts fine detail, but grain direction matters. Strokes that run across the grain can blur or feather, so keep critical hairlines parallel to the grain where possible.
Acrylic produces crisp, bright marks, and cast acrylic generally engraves with more consistent contrast than extruded. Thin strokes can disappear, so bump line weight slightly and avoid relying on sub-0.2 mm details.
Leather absorbs the beam and spreads the burn. Designs need bolder lines and more spacing between details. Fine text under about 6 mm usually fills in, so retype small text in a heavier weight or convert it to a filled shape rather than a stroke.
Coated metals engrave through a surface layer, revealing the color underneath. Vector fills work well here, and gradients convert poorly. Because the mark is binary (coating removed or not), line weight and fill coverage matter more than grayscale shading.
A simple rule: the softer or more textured the material, the bolder your strokes and the more spacing your details need. Design at final size, and proof on scrap before committing to a full run.
For a deeper look at picking stock, read our guide on how to select materials for laser engraved merchandise.
Where to Find Free Laser Engraving Templates
Free templates save hours, but only if you check the license and clean the file before use.
Good sources for ready-to-use vector artwork:
- Freepik offers SVG files you can adapt for engraving designs.
- Vecteezy runs a dedicated laser-engraving category with thousands of vector graphics.
- FreeSVG.org provides free SVG files with no account required.
- Creative Fabrica focuses on craft and laser-cut designs.
- Design Bundles carries craft and laser-cut files, including DXF.
Two checks before you download anything:
- License. Look for commercial-use terms. Many free files allow personal use only.
- File structure. Open the file and confirm it has clean paths, no embedded rasters, and no duplicate lines.
Most templates need editing anyway. Resize, simplify, and convert text to outlines before sending. If you are building promotional pieces from templates, our custom laser engraved promotional items guide covers the full production path.
Preflight Checks Before You Send Files to a Laser Service
Run this checklist before every upload. It catches the errors that cause reprints, and it doubles as the information a service provider needs to quote and produce the job correctly.
| Check | What to Look For | Why It Matters |
|---|---|---|
| Format | SVG or DXF export, matching the provider's accepted list | Machine compatibility |
| Text | Converted to outlines | Missing font failures |
| Paths | All closed, no duplicates, no stray nodes | Skipped or doubled cuts |
| Stroke weight | Hairline for cuts, intentional weight for engraves | Wrong cut width or burn |
| Scale | Final size in millimeters, not pixels | Wrong dimensions |
| Layers | Cuts and engraves separated and named | Wrong operation order |
| Embedded images | Removed or flattened | Processing errors |
| Effects | Transparency, blends, and live effects expanded | Unsupported features |
Beyond the file itself, most services ask for a few extras:
- Final dimensions in millimeters
- Material type and thickness
- Quantity and deadline
- A proof image or PDF for approval
- Any tolerances or fit requirements for mating parts
Common file errors to fix before upload:
- Duplicate paths stacked on top of each other double the burn time and scorch the material. Run a select-all duplicate check in your editor.
- Open contours cause the laser to stop mid-cut or skip a shape. Close paths with Path > Close Path in Inkscape or Object > Path > Join in Illustrator.
- Stray nodes from auto-tracing create jagged edges and slow processing. Simplify the path and delete unused points.
- Embedded raster images left in the file are the single most common rejection reason. The laser cannot engrave pixels; trace or remove them.
- Unsupported effects such as live transparency, blends, and some gradients may render differently or fail. Expand or flatten them before export.
- Scaling errors happen when artwork is drawn at screen size and scaled at upload. Set the document to final size in millimeters from the start.
Proofing and communication: ask for a proof or preview before production, especially on first-time materials or tight-tolerance parts. Confirm the provider's accepted formats, maximum engraving area, and color conventions (for example, whether red lines mean cut and black means engrave) before you design, not after. Keep revisions versioned with clear file names so the operator knows which file is final.
If you want to see how finished work turns out before you commit, browse our portfolio of custom engravings and fabrication projects.
Upload Your Artwork for an Instant Quote
Once your vector file passes preflight, the next step is simple: upload it and get a real-time quote.
You can upload your 3D file for a live quote and see pricing before you commit. Need to know which equipment your file will run on first? Our services page lists the laser and printing systems we use, including MOPA laser engraving and xTool UV.
What we need from you:
- Vector file in SVG or DXF
- Final dimensions in millimeters
- Material and thickness
- Quantity and target date
Our instant quote system handles STL files for 3D printing.
Frequently Asked Questions
What file format is best for laser engraving?
The verified information does not specify which vector formats are accepted for engraving. The instant quote system supports STL files for 3D printing.
Can I send a PNG or JPG to a laser engraving service?
The verified information does not specify whether PNG or JPG files are accepted for engraving.
How do I convert a logo to vector for engraving?
The verified information does not specify file-preparation steps or accepted engraving formats.
What should I send a laser engraving service with my design?
The verified information does not specify accepted engraving formats or what information to include with an engraving file.
Getting a clean file to the machine is the hard part. Most delays trace back to open paths, missing fonts, or a low-resolution logo, not the laser itself. Alex 3D Print Us LLC handles that handoff for you, with MOPA laser engraving, xTool UV printing, and Bambu Lab multi-color 3D printing under one roof. Upload your file for an instant quote and get your branded pieces moving.
