
7 Scheduling Rules for Large 3D Print Production
Last Updated: November 4, 2026
Quick Summary
3D print production scheduling assigns every job to a specific machine, material, and time slot so a print farm hits delivery dates without idle printers or missed orders. It works when you estimate machine, setup, and post-processing time before promising a date, reschedule by rule when builds fail, and sync the schedule with ERP and MES records.
- Add 10-15% to the slicer estimate for real-world variance on every job.
- Run a five-minute machine status standup at the start of each shift.
- A spreadsheet with discipline still beats bad software under roughly a dozen machines.
- When a build fails, move the next waiting job onto the freed machine immediately.
- Reconcile material units across systems before go-live or inventory decrements will be wrong.
Table of Contents
- Why Large 3D Print Production Scheduling Breaks at Scale
- Rule 1: Estimate 3D Printing Production Time Before You Promise a Date
- Rule 2: Use a Large 3D Print Production Scheduling Template for Every Job
- Rule 3: Run 3D Printer Fleet Management as a Daily Discipline
- Rule 4: Choose Large 3D Print Production Scheduling Software That Fits Your Floor
- Rule 5: Reschedule Dynamically When a Build Fails
- Rule 6: Connect Scheduling to ERP and MES So Dates Stay Honest
- Rule 7: Plan Energy, Post-Processing, and People Around the Schedule
- Frequently Asked Questions
Why Large 3D Print Production Scheduling Breaks at Scale
Large 3D print production scheduling is the practice of assigning every print job to a specific machine, material, and time slot so a print farm can hit promised delivery dates without idle printers or missed orders. At Alex 3D Print Us LLC, we see the same pattern in shops that just added their fifth or tenth machine: the whiteboard stops working, and dates start slipping. For help with the production-scaling challenges behind that breakdown, see our tips for scaling small batch production.
The four bottlenecks that stall a print farm
Most scheduling failures trace back to four predictable choke points:
- Build volume mismatch. A large-format job blocks a machine for days while small parts pile up.
- Material changes. Every filament swap costs time and creates waste.
- Machine downtime. A failed build discovered 20 hours in wastes the whole slot.
Fix the schedule around these four, and throughput follows.
Rule 1: Estimate 3D Printing Production Time Before You Promise a Date
3D printing production time estimation is the single most important habit in scheduling. A print's clock time is not the slicer estimate. It is the slicer estimate plus setup, plus a failure buffer, plus finishing. Miss any one of those and your delivery date is fiction.
A three-part estimate that holds up
Use a simple formula for every job:
- Machine time. Slice the file and record the estimate, then add 10-15% for real-world variance.
- Setup and teardown. Add time for bed prep, material load, and part removal.
- Post-processing. Add sanding, curing, or assembly hours.
For a deeper breakdown of realistic timelines, see our guide to 3D printing turnaround time.
Rule 2: Use a Large 3D Print Production Scheduling Template for Every Job
A large 3D print production scheduling template is a shared form that captures every variable a job needs before it enters the queue. Without one, two operators will schedule the same job differently.
Your template should capture:
- Job ID, client, and due date
- Machine assigned and material type
- Estimated hours (machine, setup, post)
A template is not bureaucracy. When a job is ready to run, you can upload your 3D file for a real-time quote and move straight from schedule to order.
Rule 3: Run 3D Printer Fleet Management as a Daily Discipline
3D printer fleet management is the daily work of keeping every machine productive, maintained, and correctly assigned. It fails when it becomes a weekly task. Fleets drift out of sync fast.
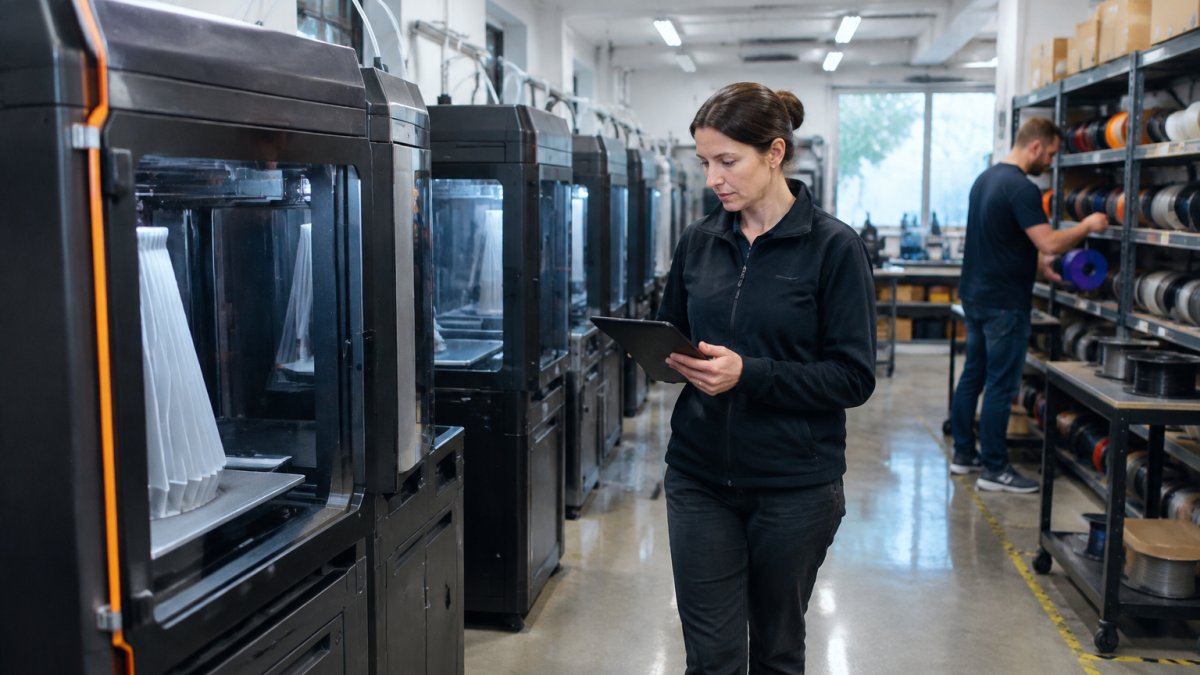
Start each shift with a five-minute standup:
- Which machines are running, idle, or down?
- Which jobs are at risk of missing their date?
- What maintenance is due today?
That daily rhythm catches problems while they are still cheap to fix.
Rule 4: Choose Large 3D Print Production Scheduling Software That Fits Your Floor
Large 3D print production scheduling software should match how your floor actually runs, not how a vendor imagines it runs. The wrong tool adds admin work and gets abandoned within a month. The right tool is the one your operators open without being told to.
The four software categories you will actually encounter
Scheduling tools for additive manufacturing fall into four rough buckets, and each has a distinct trade-off:
- Slicer-adjacent queue managers. These bolt a job queue and machine-status view onto a slicer you already use. They are cheap and fast to adopt, but they usually stop at the print farm, no purchasing, no inventory, no client-facing dates.
- Print-farm orchestration platforms. These add machine monitoring, material tracking, and operator dashboards across mixed fleets. They handle FDM, SLA, and SLS in one queue, but the depth of their ERP hooks varies widely and is the first thing to test.
- ERP/MES modules with an additive module. Enterprise suites now ship a production-scheduling module that can absorb 3D print work orders alongside CNC and injection molding. The advantage is one source of truth for dates and inventory; the disadvantage is implementation time and the risk of forcing print-floor workflows into a discrete-manufacturing mold.
What to test before you commit
Before you buy, confirm the software can:
- Handle your machine mix (FDM, SLA, SLS) and build volumes without forcing every job through one generic duration field
- Track material consumption per job and decrement inventory when a build starts, not when someone remembers
- Support dynamic rescheduling, reassigning a freed machine to the next waiting job by rule, not by drag-and-drop
Watch out: a tool that demos well on a single-vendor farm often collapses on a mixed fleet, because machine-status polling and error-code handling differ by manufacturer and the integration depth is where vendors quietly cut scope.
The adoption test that predicts failure
A common pattern is to run the new tool in parallel with the whiteboard for two weeks and count how often the two disagree. If the software loses the argument more than a handful of times, the floor will abandon it regardless of feature depth. Pick the tool your lead operator trusts, then push for the ERP hook as a phase-two requirement rather than a day-one blocker.
See the services your schedule will feed so the software decision matches real capability. A tool that ignores your actual machines is worse than a spreadsheet.
Upload your STL file for an instant quote →
Scheduling tools for additive manufacturing fall into four rough buckets, each with a distinct trade-off.
| Option | Best for | Key difference |
|---|---|---|
| Slicer-adjacent queue managers | Shops already using a slicer | Cheap and fast, but stop at the print farm |
| Print-farm orchestration platforms | Mixed fleets (FDM, SLA, SLS) | Machine monitoring and dashboards; ERP hook depth varies |
| ERP/MES modules with an additive module | One source of truth for dates and inventory | Implementation time; may force discrete-manufacturing workflows |
| Spreadsheet plus discipline | Shops under roughly a dozen machines | Beats bad software until two operators edit the same row |
Rule 5: Reschedule Dynamically When a Build Fails
Dynamic rescheduling is the ability to re-sequence the queue the moment a build fails, without rebuilding the whole plan by hand. This is where most shops break. A failed 20-hour print is not just lost time. It is every downstream job that was waiting on that machine.
The fix is a rule, not a scramble:
- Flag the failed job and log the cause.
- Move the next waiting job onto the freed machine immediately.
- Re-slot the failed job at its new priority.
- Notify the client before they ask.
Shops that reschedule by rule recover in hours. Shops that reschedule by panic lose days.
Rule 6: Connect Scheduling to ERP and MES So Dates Stay Honest
Scheduling that lives in a separate spreadsheet from your ERP and MES is a scheduling system that lies. When orders, inventory, and machine data live in different places, dates drift and nobody knows why. This is the integration most print farms skip, and it is the one that keeps client-facing dates honest.
ERP and MES do different jobs, do not collapse them
The distinction matters for scheduling because each system owns a different slice of truth:
- ERP owns the commercial record. Sales orders, customer due dates, purchased material, and invoicing live here. The ERP is the system of record for what was promised and what was bought.
- MES owns the execution record. Work orders, machine assignments, operator sign-offs, scrap, and actual run times live here. The MES is the system of record for what actually happened on the floor.
- The scheduler sits between them. It reads demand and material availability from ERP, reads capacity and machine state from MES, and writes the sequence back to both.
When a shop tries to make one system do both jobs, the schedule either ignores real machine state (ERP-only) or loses the commercial due date (MES-only). Either way, the date on the client's confirmation email stops matching the date on the floor.
The five records that must sync
A working integration moves five record types on a defined cadence:
- Sales order to work order. A confirmed order should create a scheduled job automatically, carrying the customer due date and the promised material.
- Material issue and consumption. When a build starts, the MES should decrement the ERP inventory for that material lot, not when the operator remembers to log it.
- Machine status. Run, idle, down, and maintenance states should feed back into the queue so the scheduler never assigns a job to a machine that is already flagged.
- Actual versus estimated time. Every completed job should write its real run time back so the next estimate for that part family is grounded in data rather than a slicer guess.
- Scrap and rework. Failed builds need to hit the ERP as a cost event, or the schedule will keep promising dates the floor cannot hit.
Integration patterns and their trade-offs
There are three practical ways to connect the systems, and the right one depends on your scale:
- Scheduled file exchange. The scheduler exports a job list and imports machine status on a timer. It is cheap, vendor-neutral, and adequate for shops under roughly a dozen machines, but the lag between syncs is where double-bookings happen.
- API-to-API. The scheduler calls the ERP and MES directly. It is near-real-time and the right target for industrial users, but it requires both vendors to expose stable endpoints and someone on your team to own the mapping.
- Middleware or integration platform. A third system brokers the messages. It adds cost and a new failure point, but it survives vendor changes and is the usual choice once you run multiple plants or multiple ERP instances.
Watch out: the most common integration failure is not a broken API, it is a unit mismatch. One system tracks material in kilograms, another in spools, and a third in grams per part. Reconcile units before go-live or the inventory decrement will be wrong from the first job.
What honest dates actually require
A schedule disconnected from real inventory is a wish list. Honest client-facing dates require three things to be true at the same time: the material is on hand in the ERP, the machine is available in the MES, and the estimated duration reflects actual run history. If any one of those is stale, the date is a guess dressed up as a commitment.
Rule 7: Plan Energy, Post-Processing, and People Around the Schedule
Energy cost optimization and labor planning are the two schedule inputs nobody budgets for. Long-duration builds can run overnight to use cheaper power windows, but only if someone is on hand to pull the part and start the next job.
Schedule around three constraints:
- Energy. Batch long builds into off-peak windows where your utility rate allows.
- Post-processing. Staff finishing to match printer output, not the other way around.
- People. Match shift coverage to your longest builds.
For finishing steps and their time cost, review our guide to advanced post-processing techniques before you promise a date.
Scheduling a print farm at scale is a discipline, not a tool purchase. Most shops stall because they treat the queue as a whiteboard problem when it is really an estimation, rescheduling, and integration problem.
Frequently Asked Questions
How do you schedule production across multiple 3D printers?
Start with a shared job queue that lists every part, its material, and its due date. Group jobs by material and layer height so you can run batch builds on the same machine. Then assign large-format parts to the printers with the build volume to hold them, and keep smaller jobs as fillers. Review the queue every morning, because a failed build or a late filament delivery changes the order. A written queue plus a daily review beats memory every time.
What should a large 3D print production scheduling template include?
A workable template has columns for job ID, part name, material, quantity, estimated print hours, post-processing hours, machine assignment, due date, and status. Add a notes column for customer-specific requirements like color matching or laser engraving. The template should also track build plate availability and maintenance windows. Keep it in a shared spreadsheet or your scheduling software so everyone sees the same version, and update the status column at the end of each shift.
How do you estimate 3D printing production time accurately?
Break the estimate into three parts: print time from your slicing software, setup and changeover time, and post-processing time. Print time is the most reliable number, but it assumes the build succeeds. Add a buffer for failed builds based on your own history, and add fixed hours for support removal, sanding, or laser engraving. For large-format parts, also account for longer heat-up and cooling cycles. Track actual hours against estimates for a month and your accuracy improves quickly.
How can manufacturers reduce downtime in large-scale 3D printing?
Preventative maintenance is the biggest lever. Replace nozzles, check belts, and clean build plates on a fixed schedule rather than waiting for a failure. Keep spare hotends and filament dry so a swap takes minutes. Schedule long builds overnight and run maintenance during the day. Finally, monitor machine utilization: if one printer sits idle while another is overloaded, your queue is misbalanced, not your equipment.
